Published: 2021-07-03
Anyone else grow up with Softsoap brand bottles of hand soap in their house?
I always loved the cool look of the fish 'swimming' in front of a coral background. I think the effect is neat. For those who are not familiar, the company has printed an underwater seascape onto the back of the label on the back of the bottle, and have used a clear label on the front, including the picture of a fish. So between the distance between the two, and the clear soap inside the bottle, it creates a 3d-ish effect. As an adult, I do not think the effect is neat enough that I'm ever going to opt to purchase that brand over the store brand if there's a significant price difference. But that doesn't mean that I don't miss it.
One day, I was looking at the one softsoap brand bottle I have and thought "I could do this effect myself... and then I could theme it however I wanted to." And so, obviously, I had to act on it. I'm planning on eventually replacing all of my off-brand bottles labeling, but for now, I decided to just tackle the one for my bathroom sink. (My household decided to stop purchasing small bottles of soap and refill our existing bottles a while ago)
== Deciding on a Theme
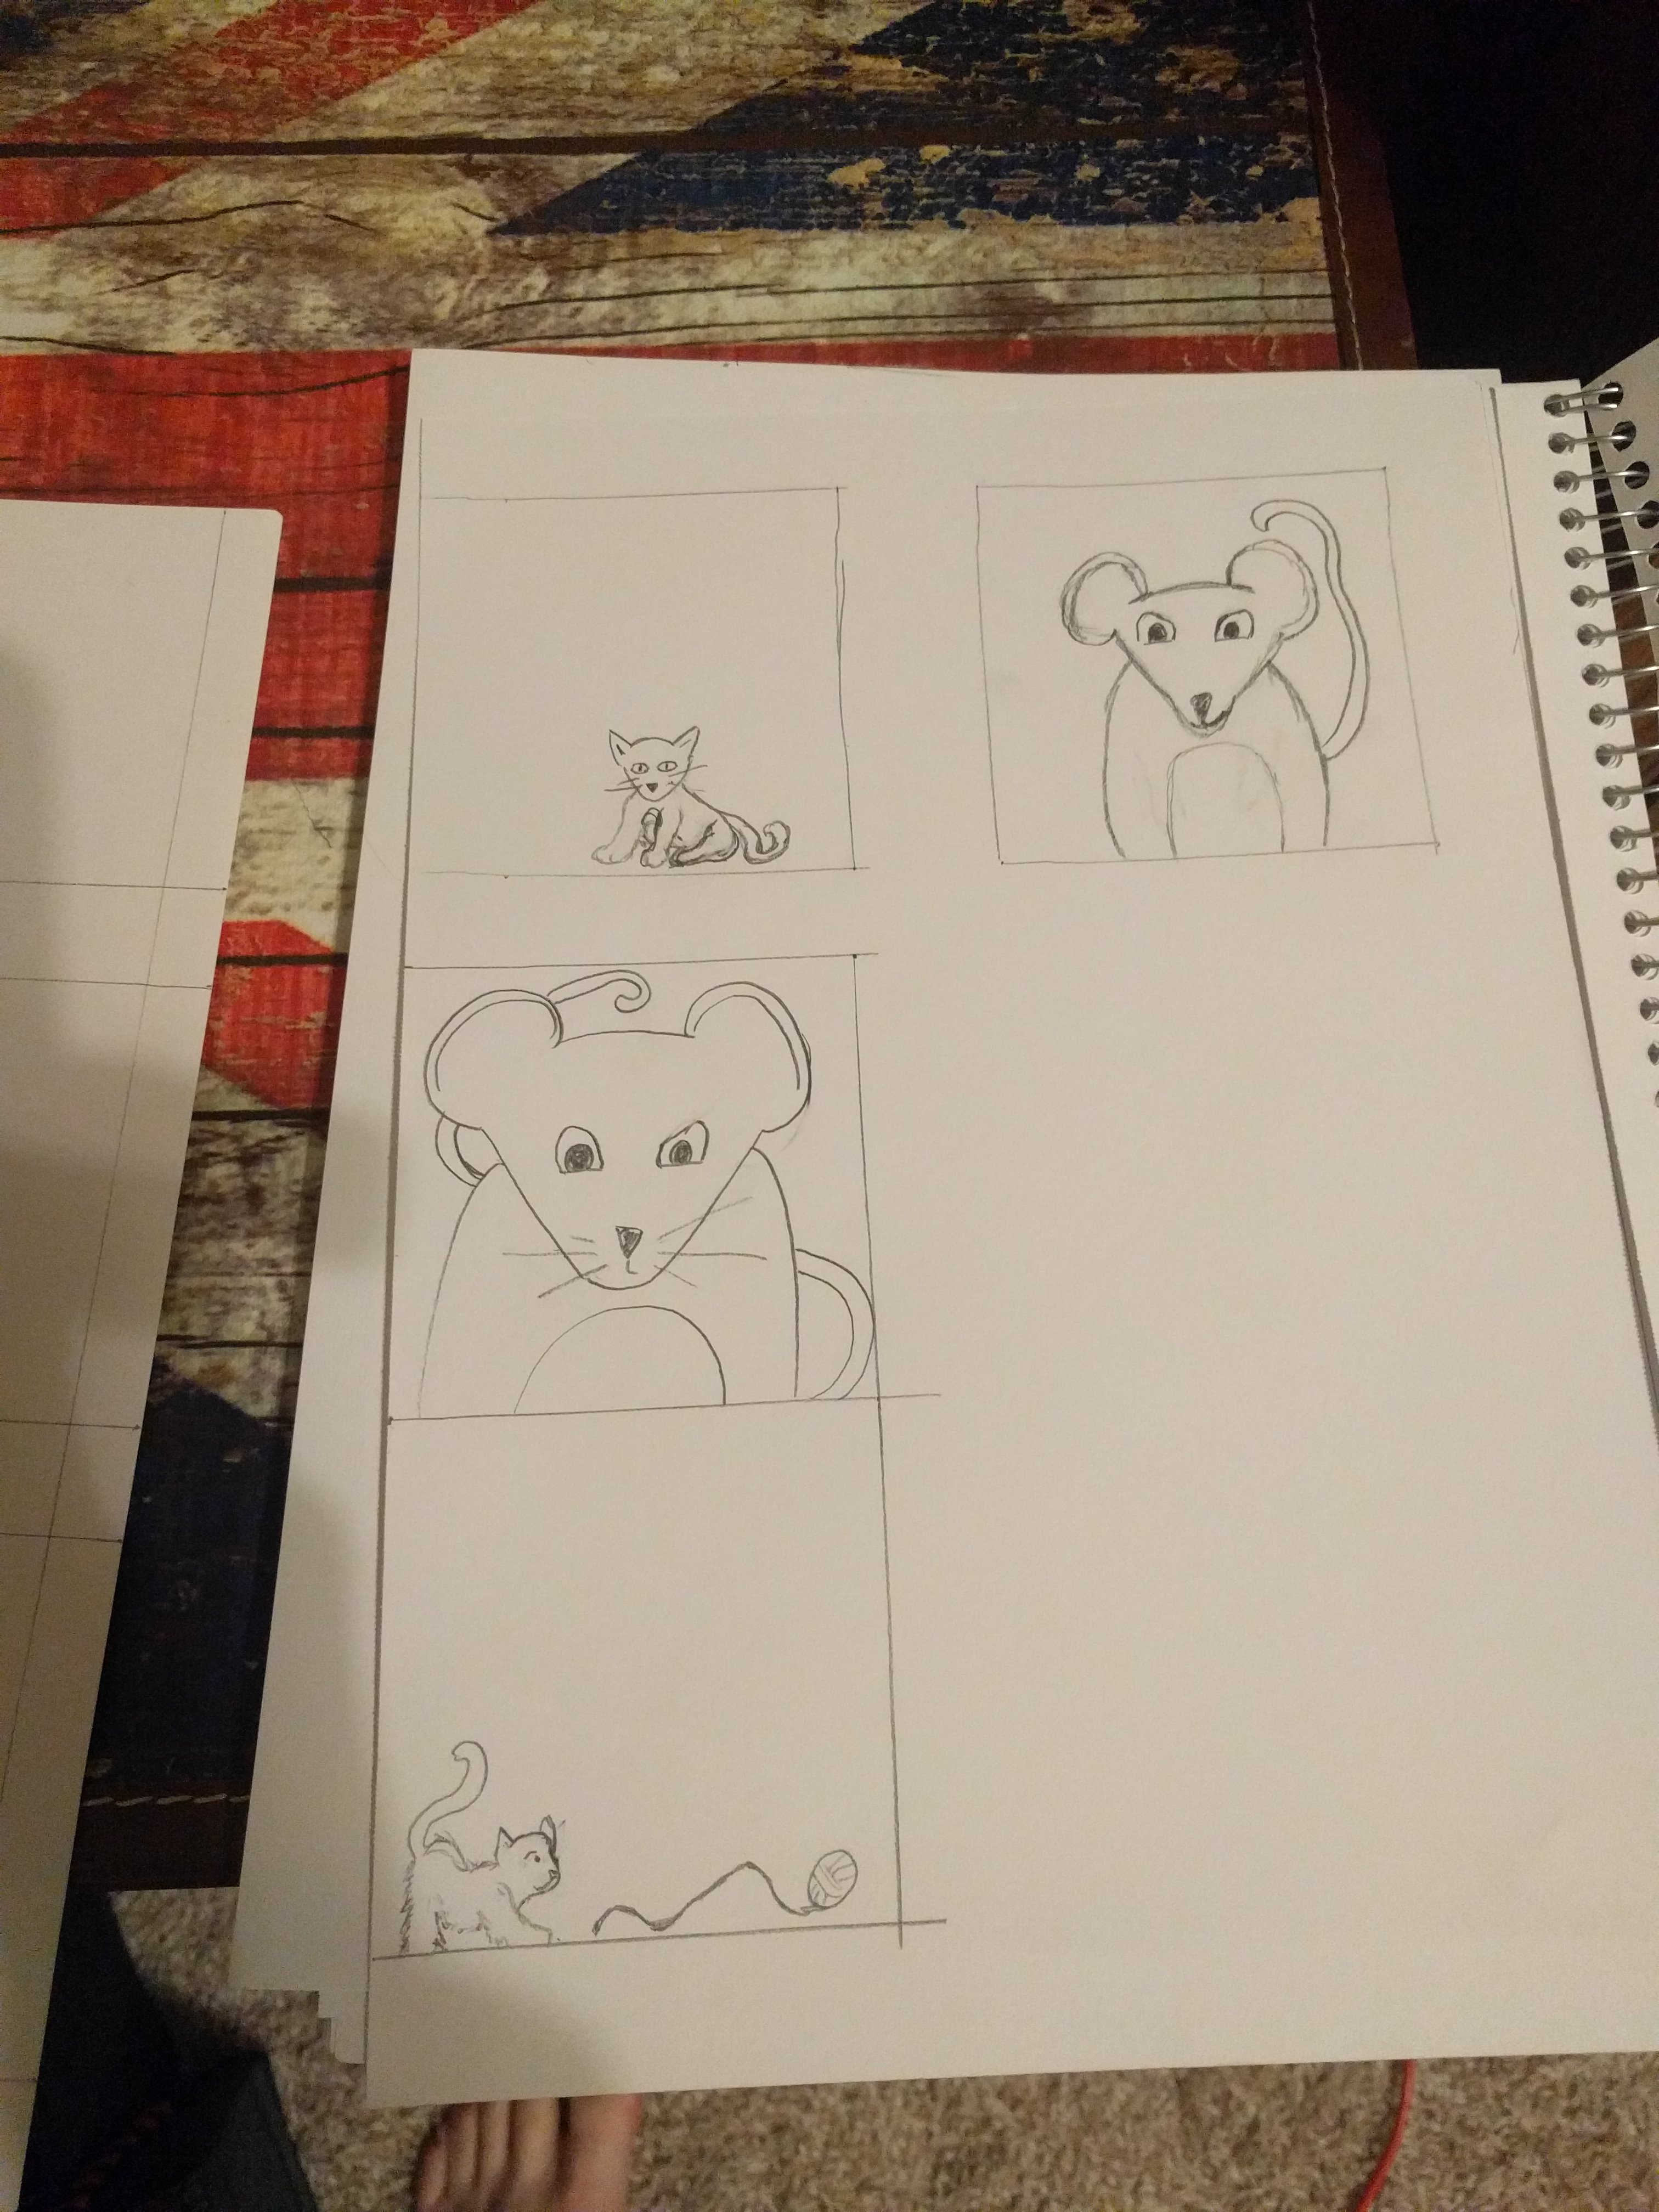
My bathroom doesn't have a lot of themed decoration to it, but the shower curtain is covered in cats, so something with a Cat was the initial thought. I bounced this idea around with others in my home, and Russ came up with a brilliant idea. Have a mouse looming in the background, and a kitten playing in the foreground. The idea was vaguely ominous, and very funny.
== Planning and Sketching
I decided that while I could paint this design directly onto the bottle, that I'm no where near a good enough painter to do the style of reverse paint build up that's necessary to paint onto the back of the bottle, to be viewed from the front. I decided that painting onto a piece of paper of the right size, and then using a decoupage style sealer to glue it in place and protect it from water.
I measured the front and back of my off-brand bottle, and drew out several squares on some sketchpaper to use as spaces to test designs.

And I managed to get exactly what I wanted from my first attempt at painting it.
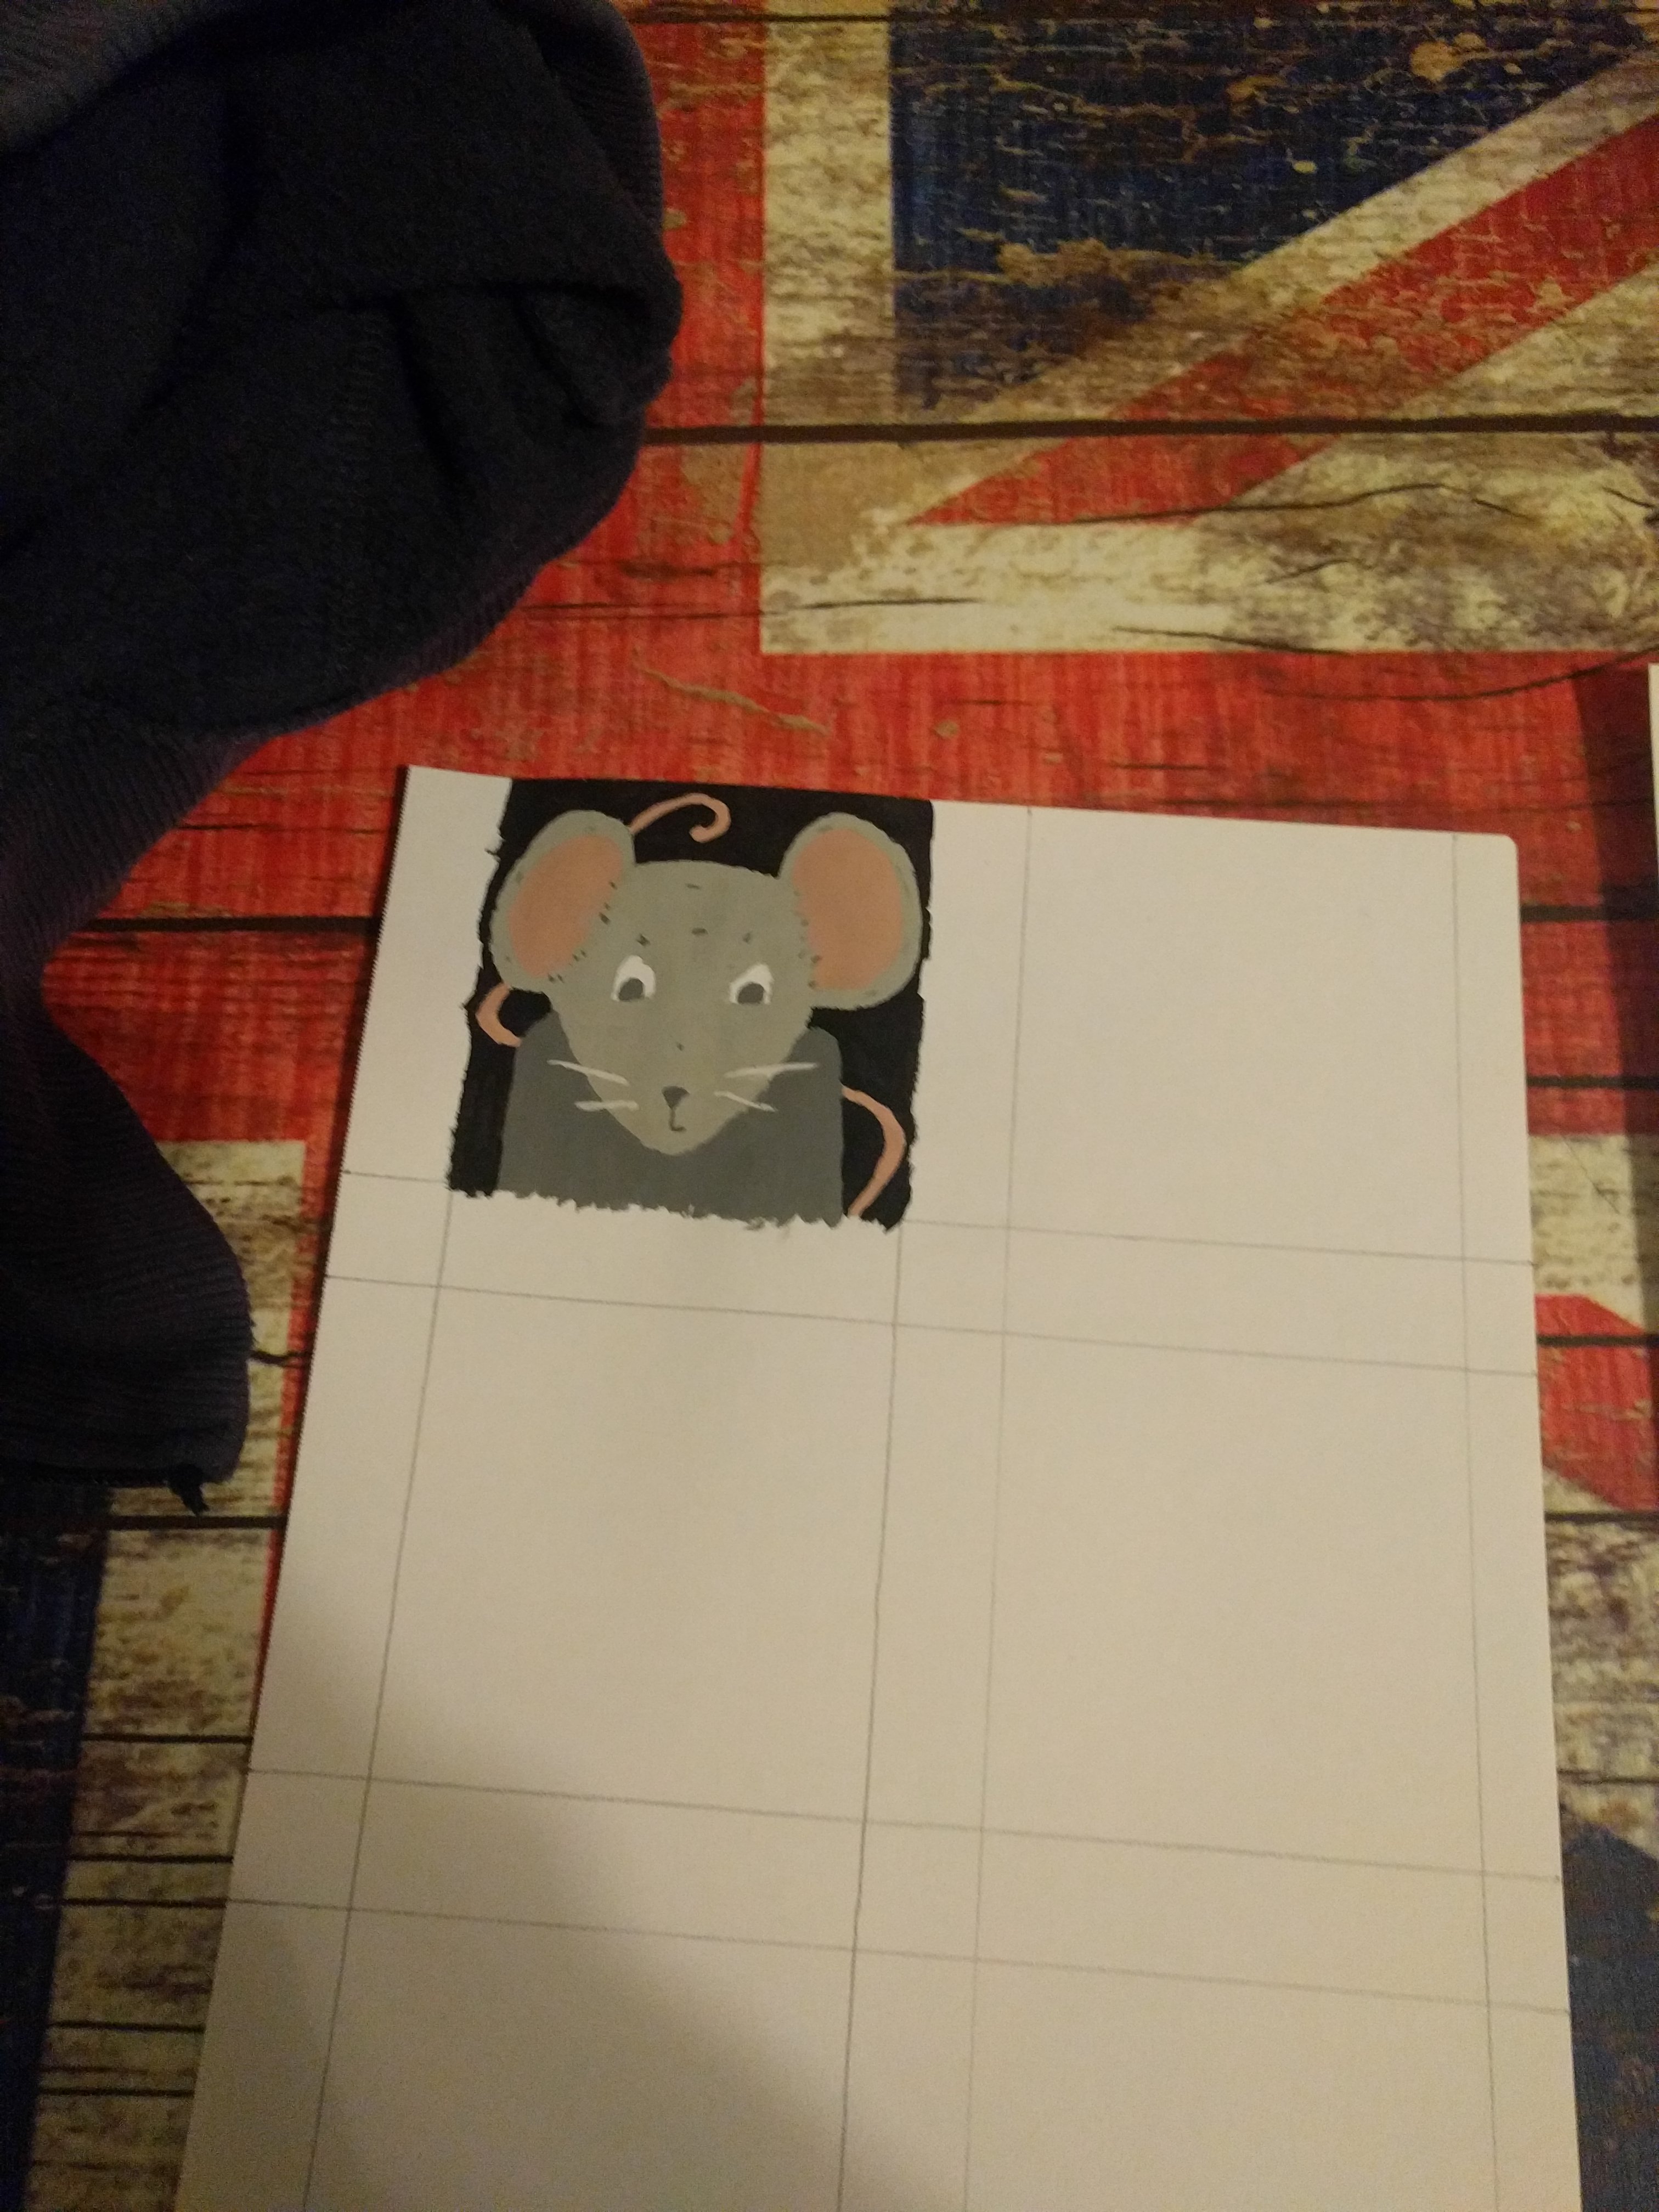 ...which made the rest of these squares pointless.
== Preparing the Bottle
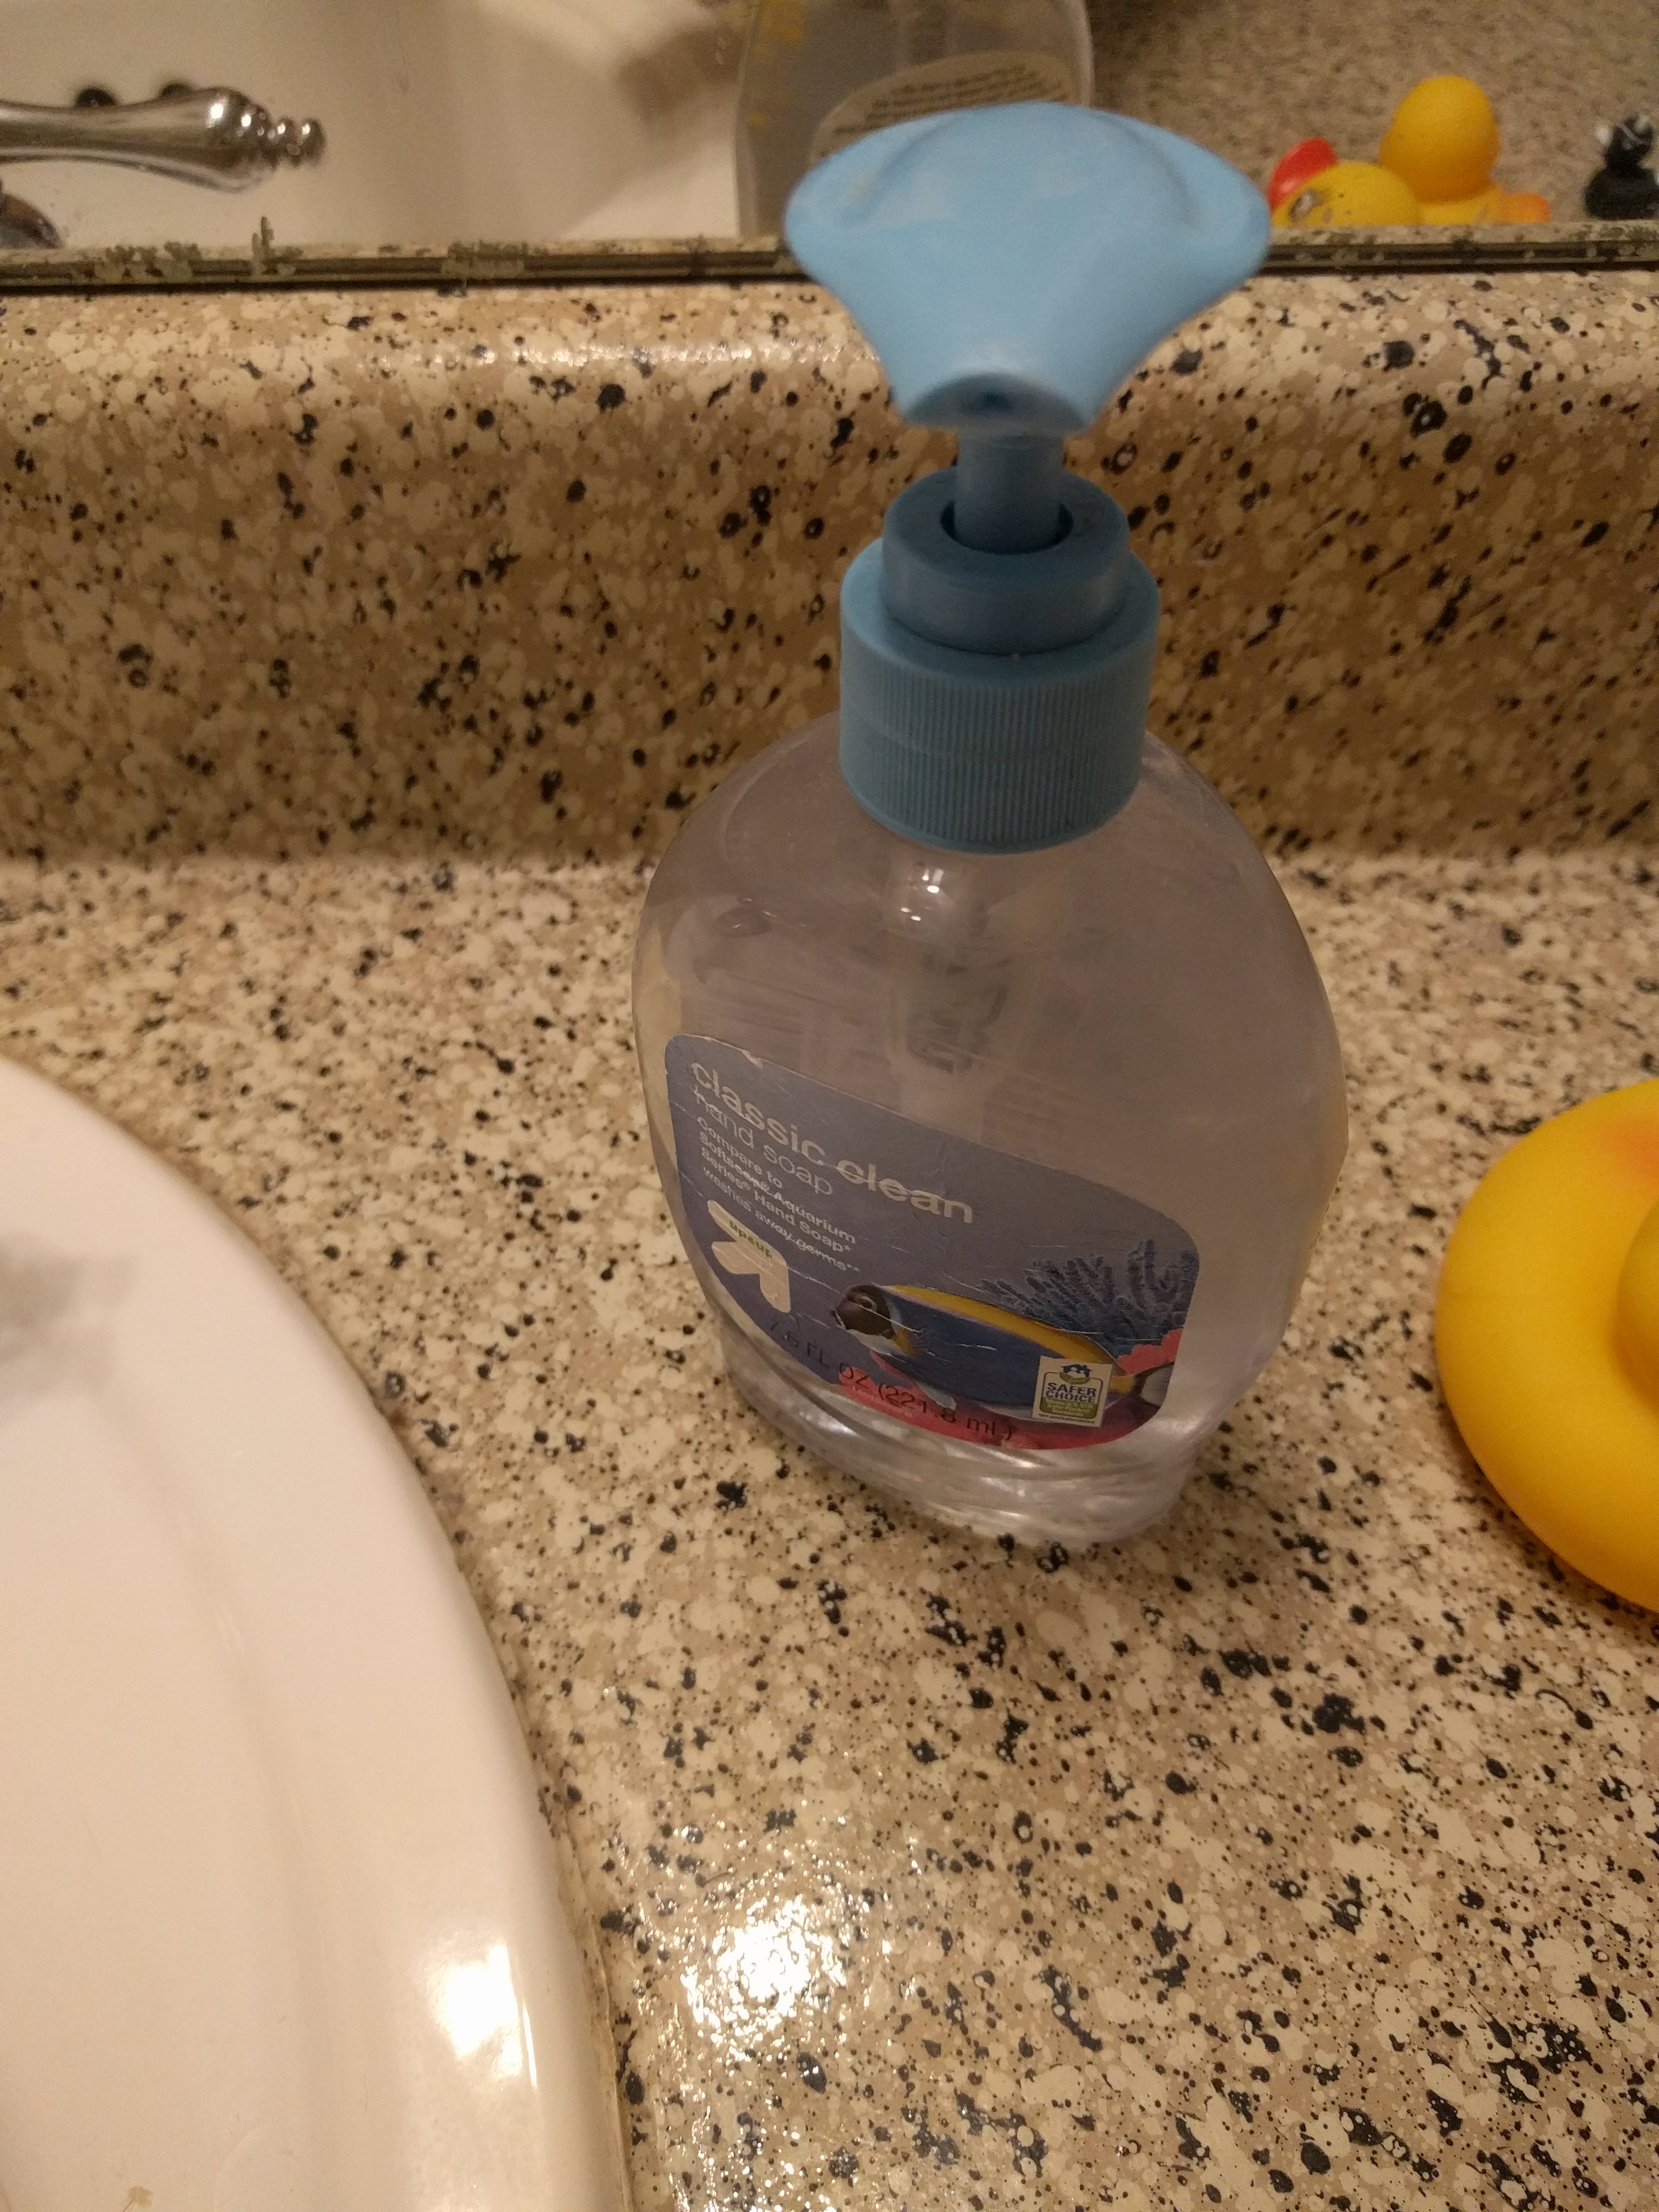 This is a photo of my off-brand soap bottle.
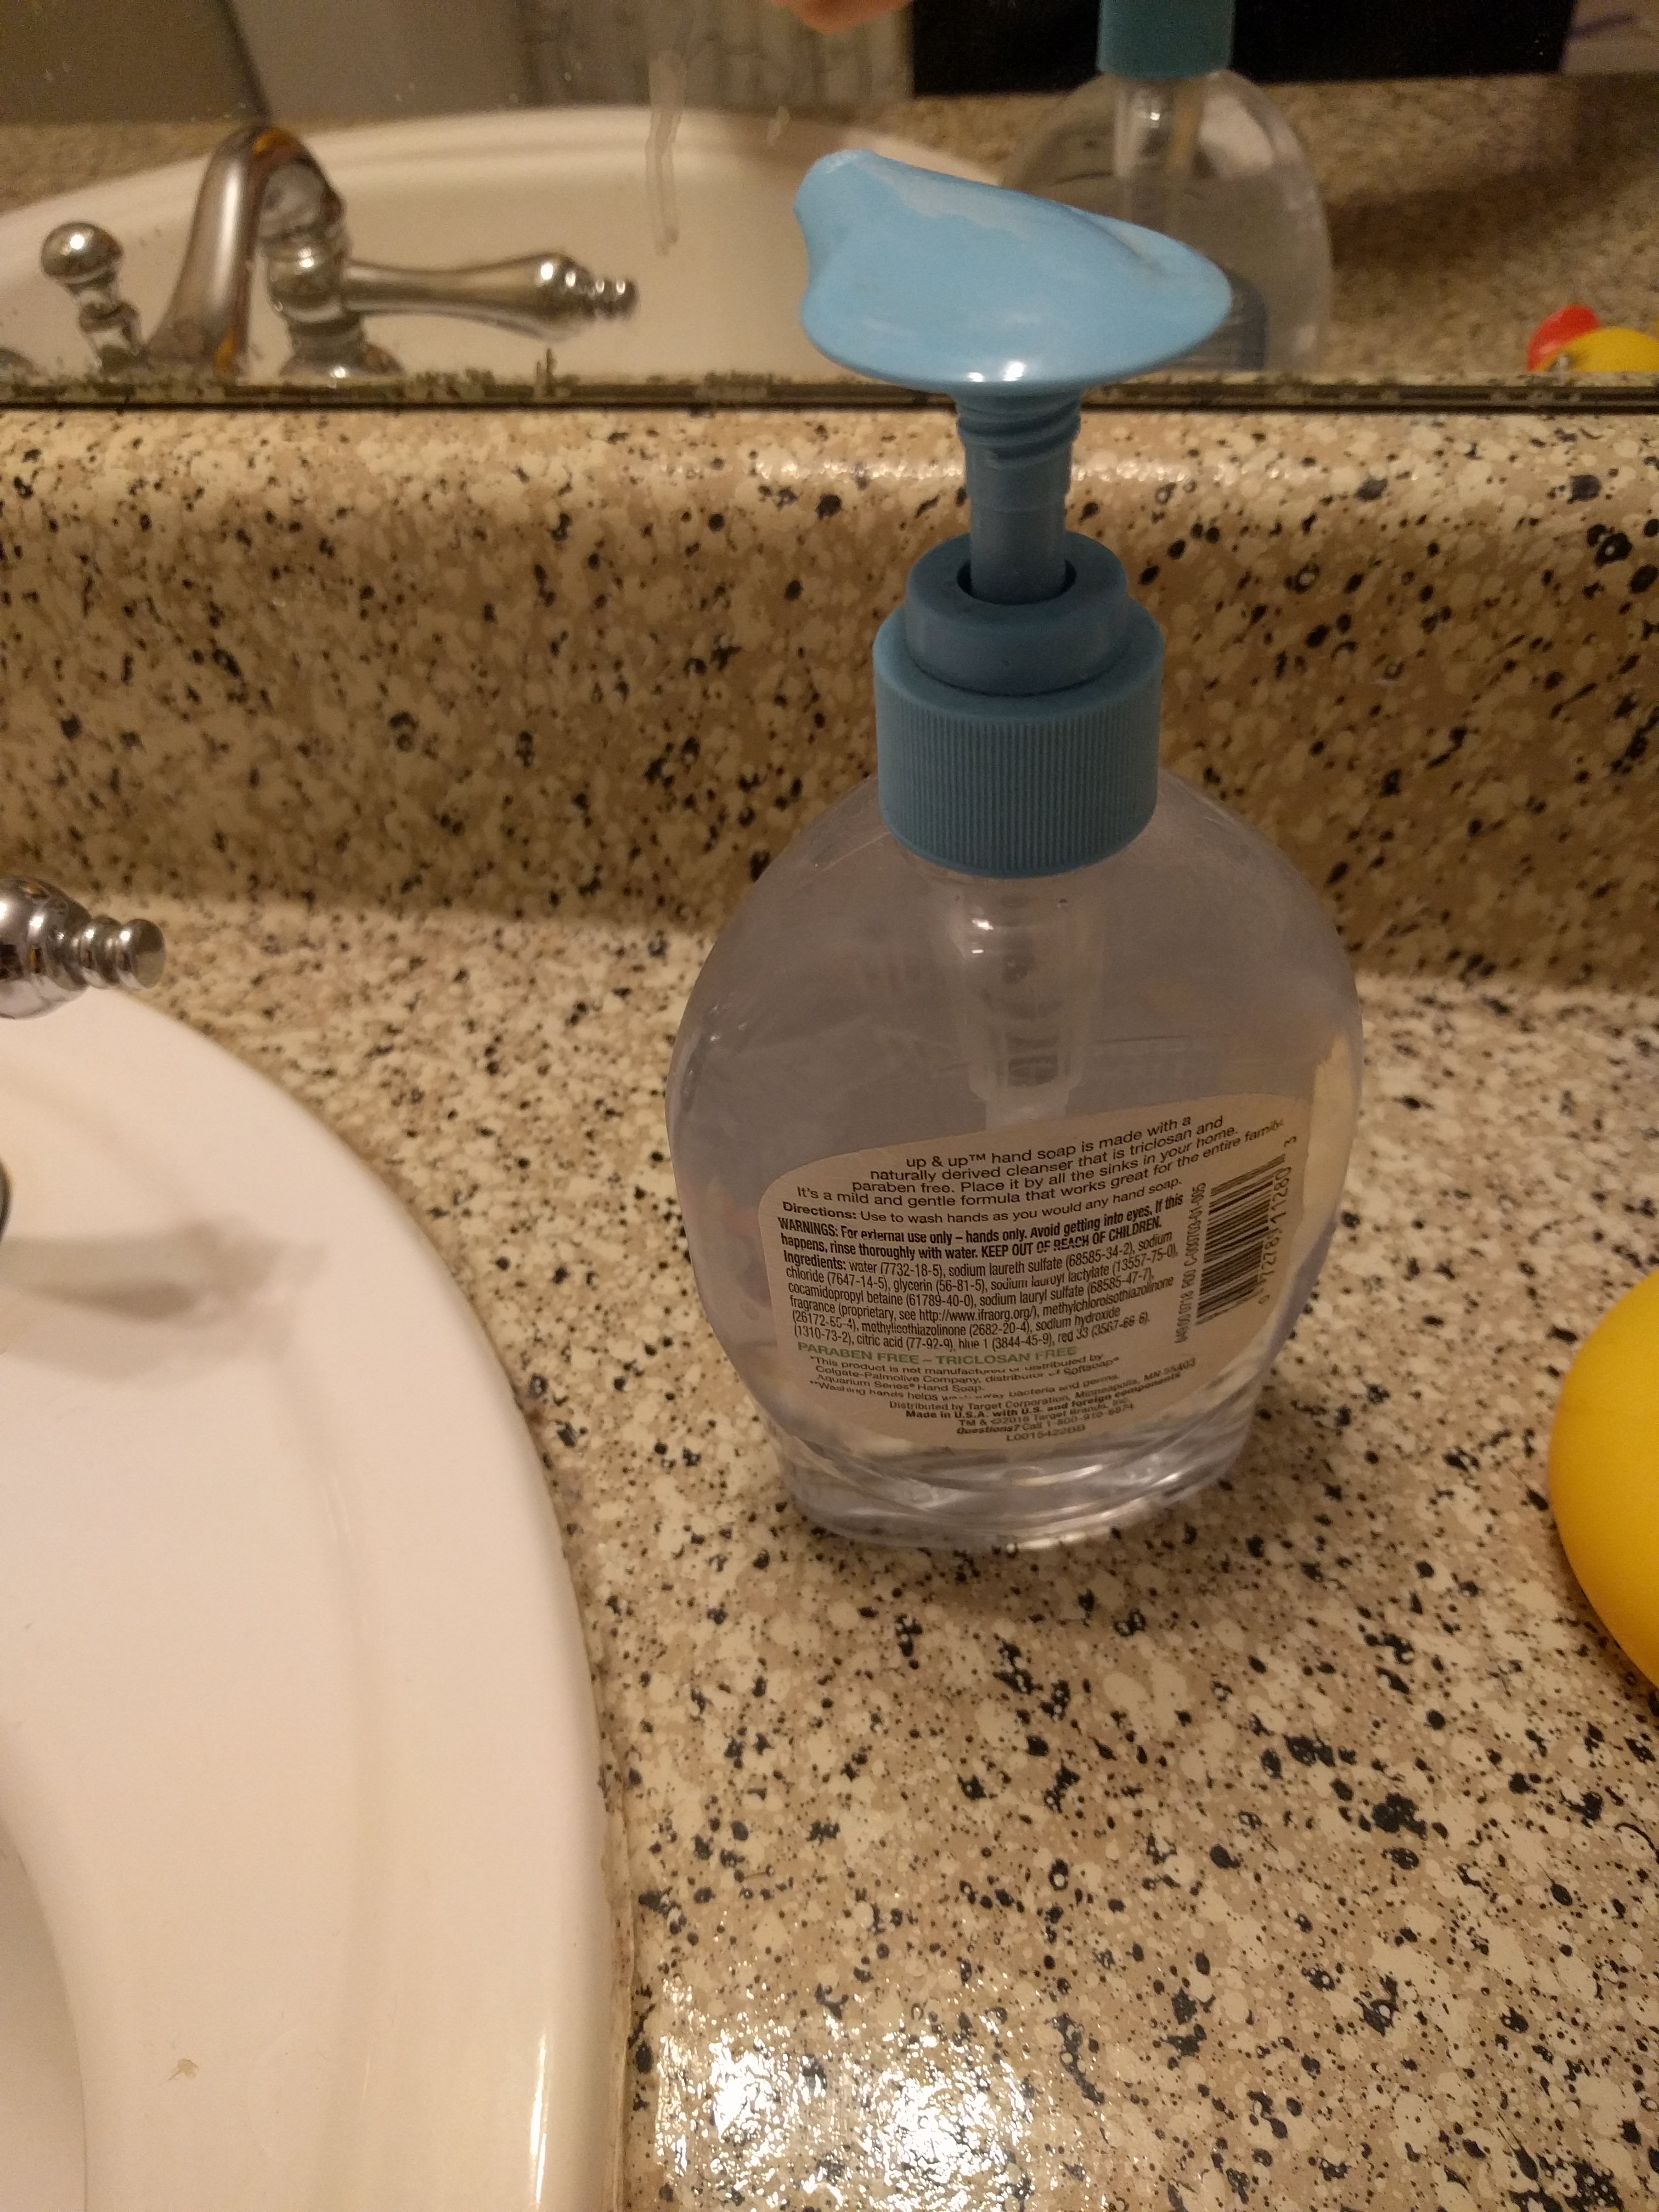 This is a photo of the back of my off-brand soap bottle.
To get the images I wanted on this bottle, I was going to have to get the existing labels off.
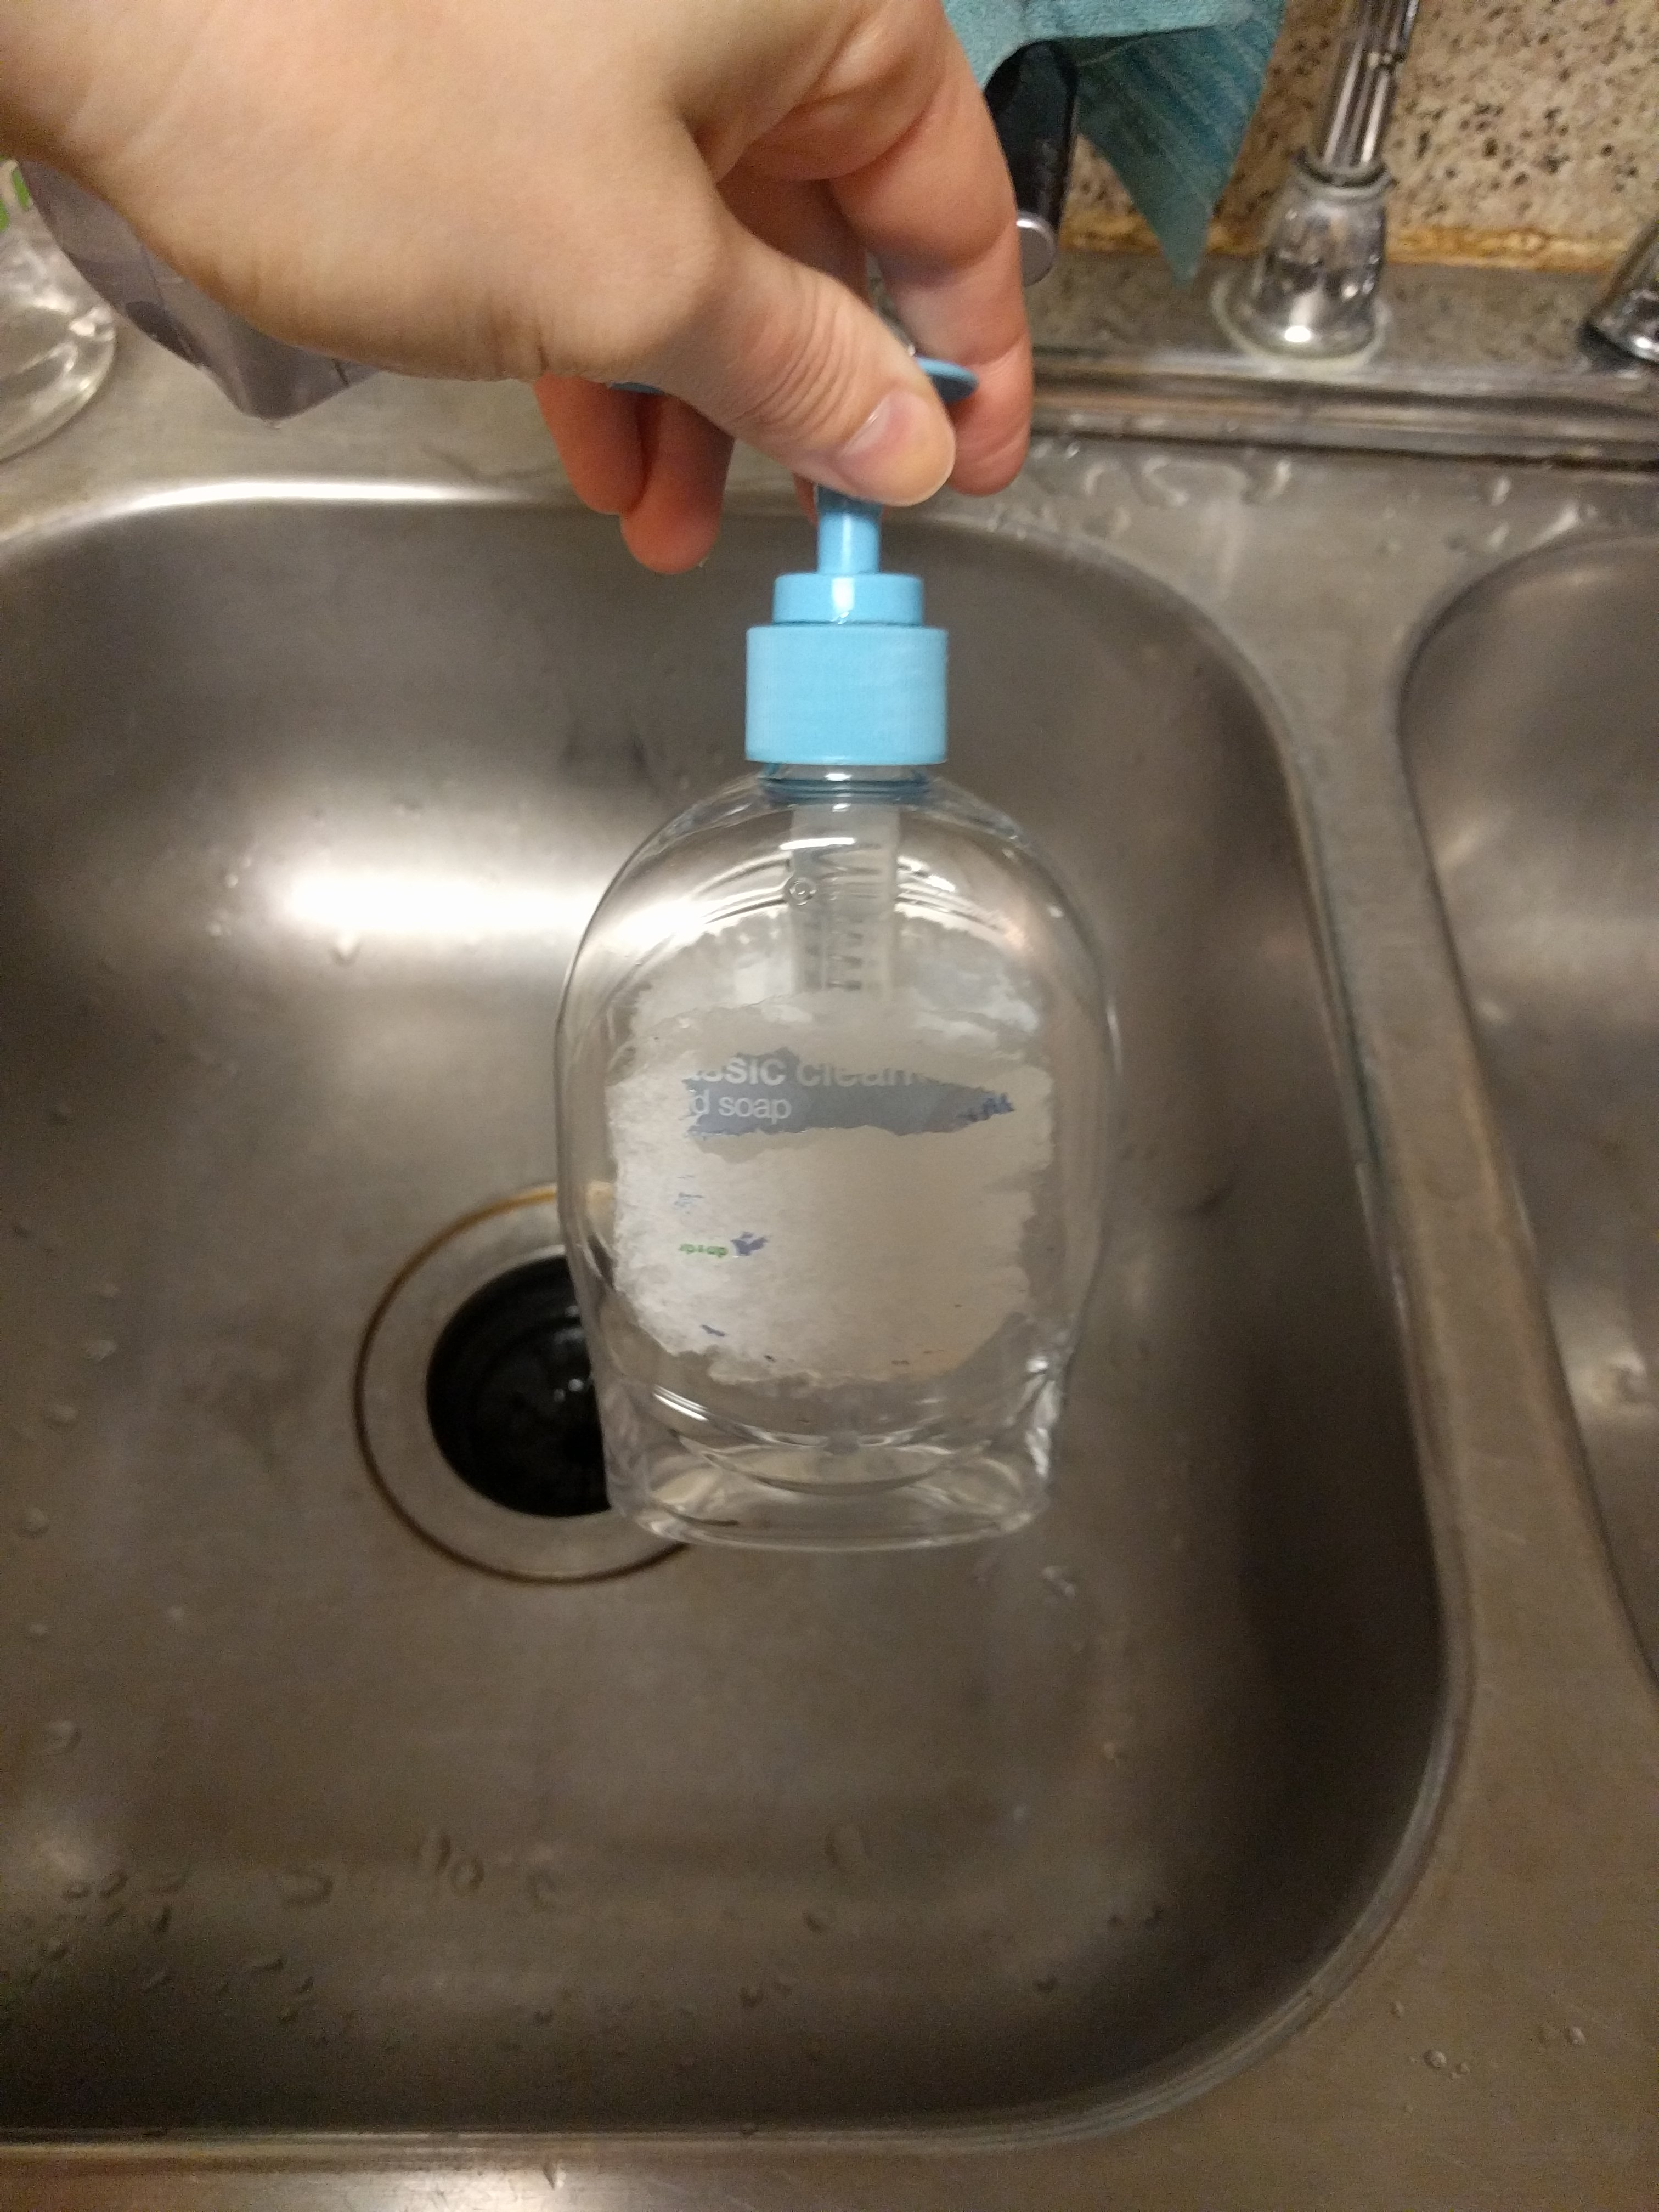 Soap and Water didn't do much
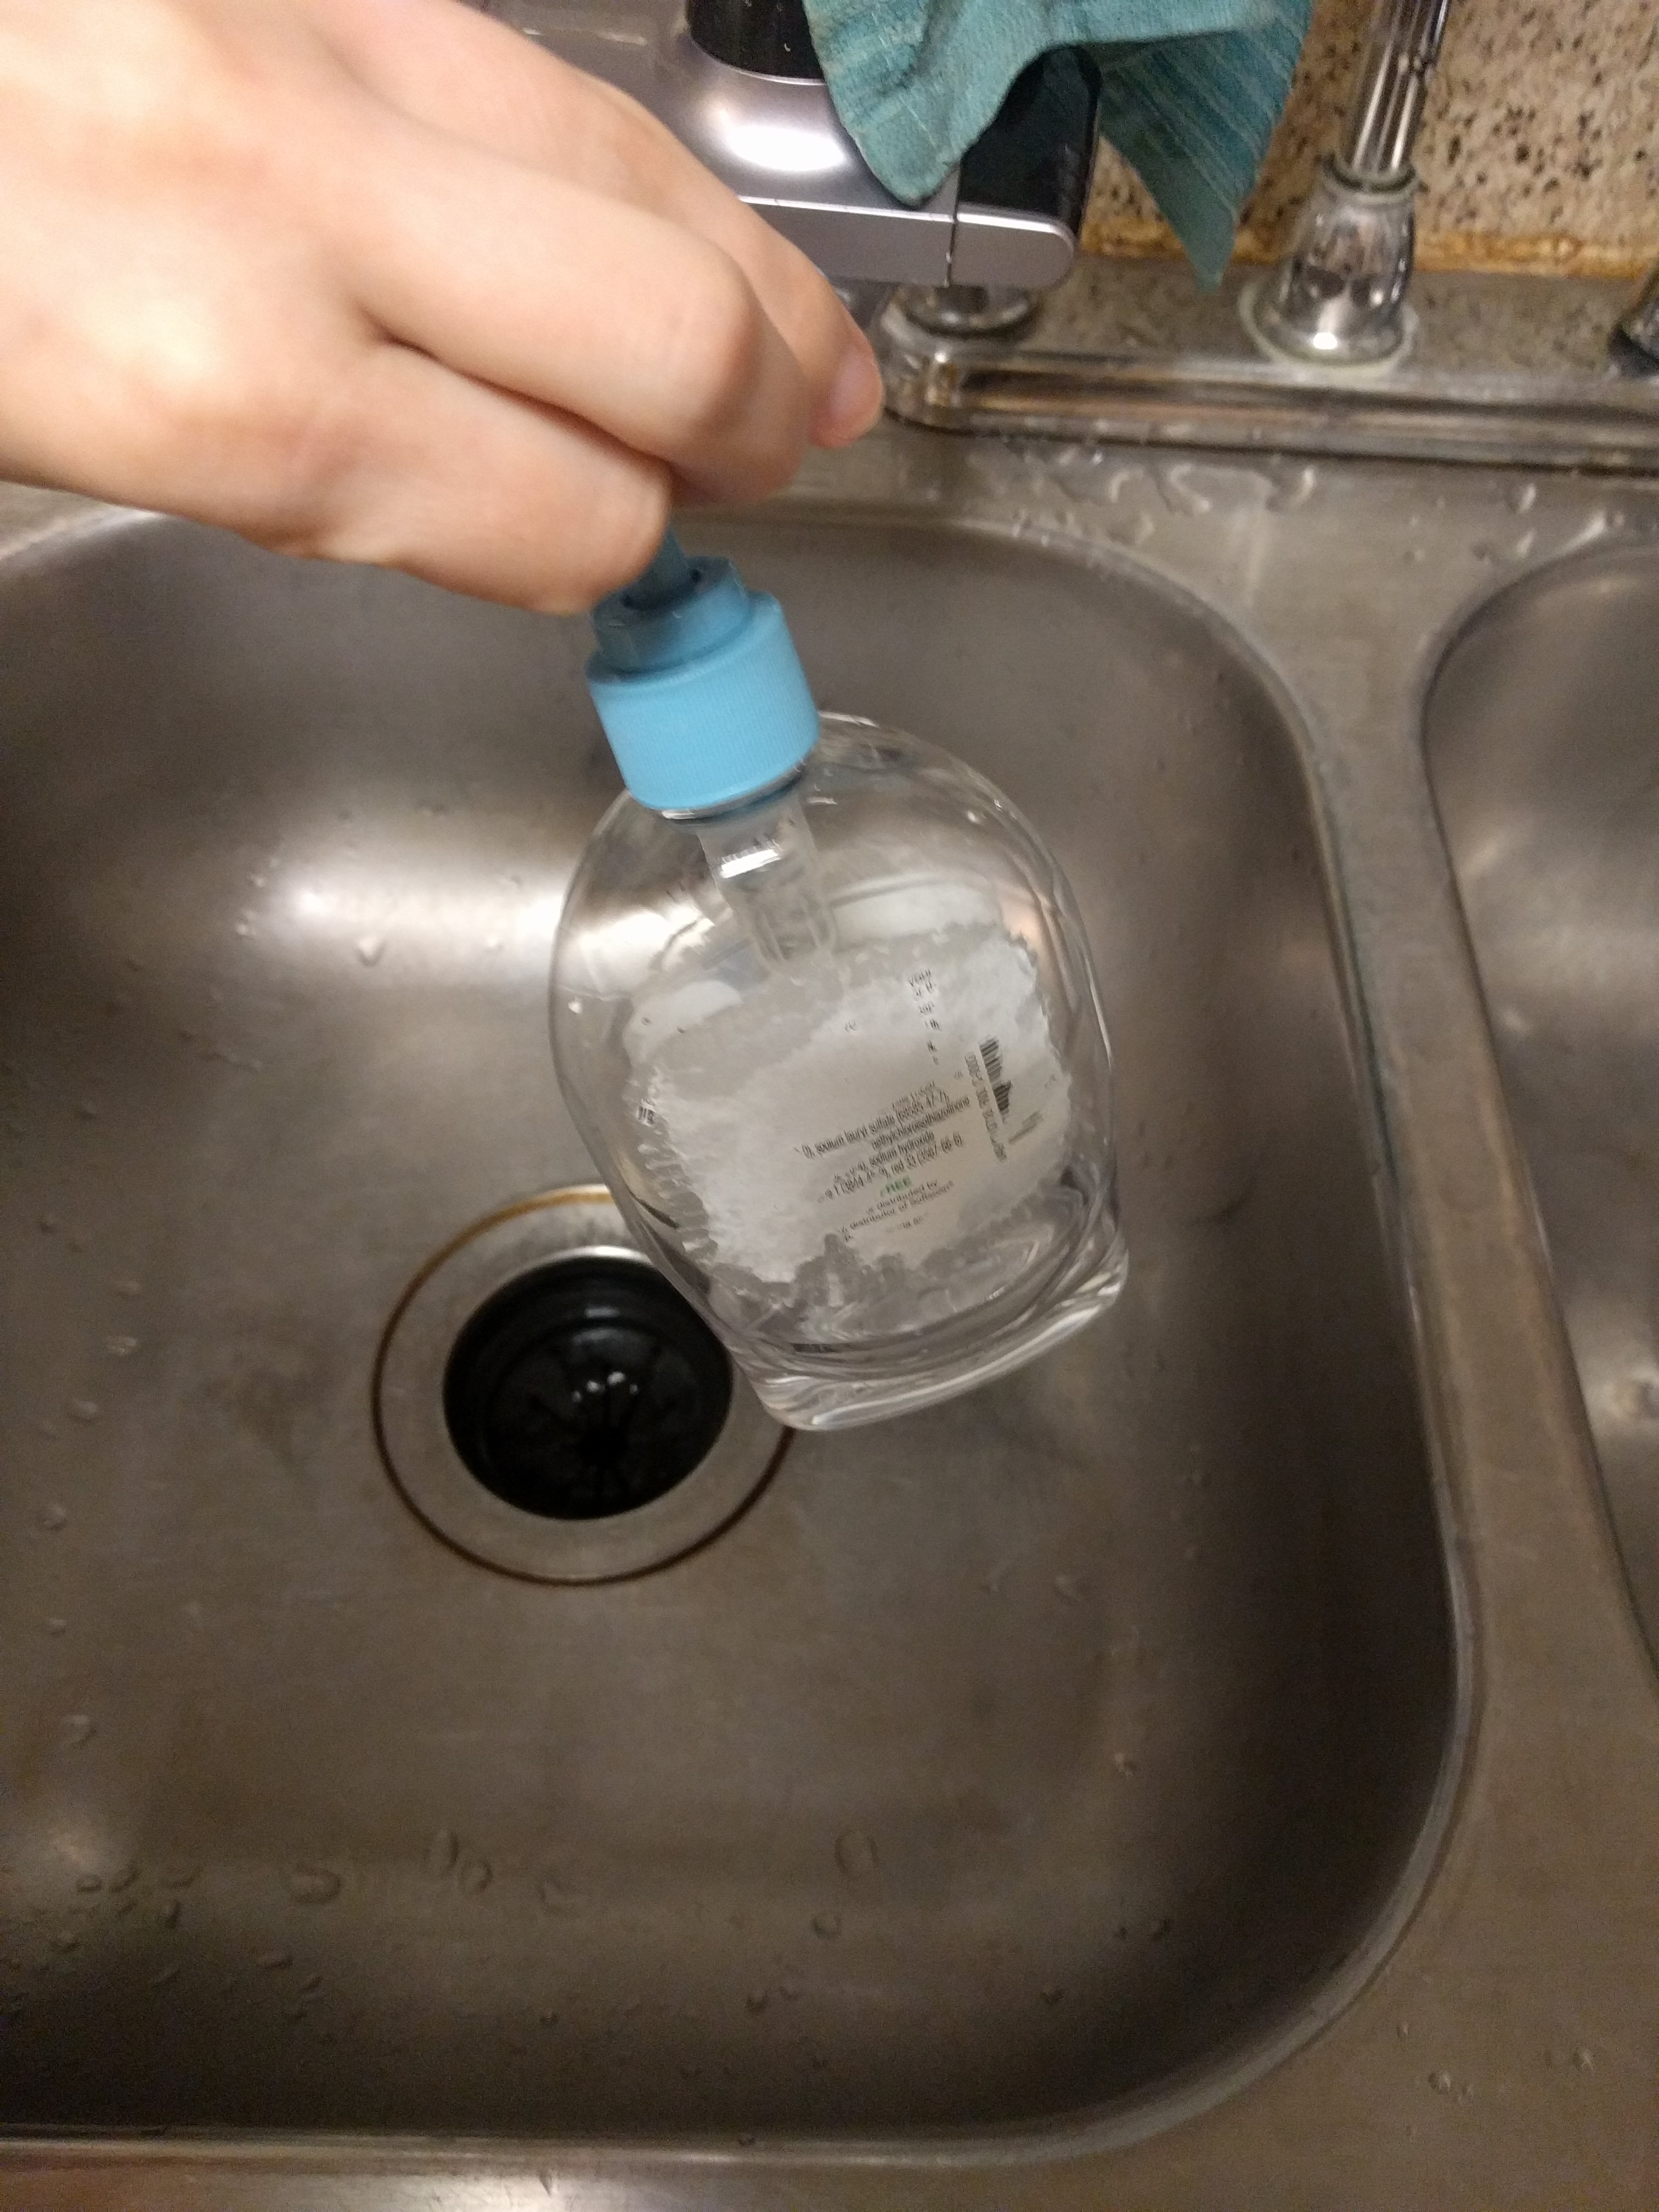 Didn't work well on the back either
However, after I got out my goo-gone, I had them clean, clear of paper and adhesive, and ready to go. I don't know why, but I appear to have forgotten to photograph that point in the process. Sorry, you'll just have to take my word that it worked.
== Making this happen!
I got out my decoupage sealer (just a cheap house brand from my local craft store) and a pair of scissors. I actually used one of those spare squares to figure out exactly the shape that worked best on the back of the bottle, then used that as a guide to cut out the actual painted piece.
I put at least 4 coats of sealer on the back, I think I may have done more like 6. I wanted to make really sure that this wasn't going to just disintegrate the moment I put it into use in the bathroom.
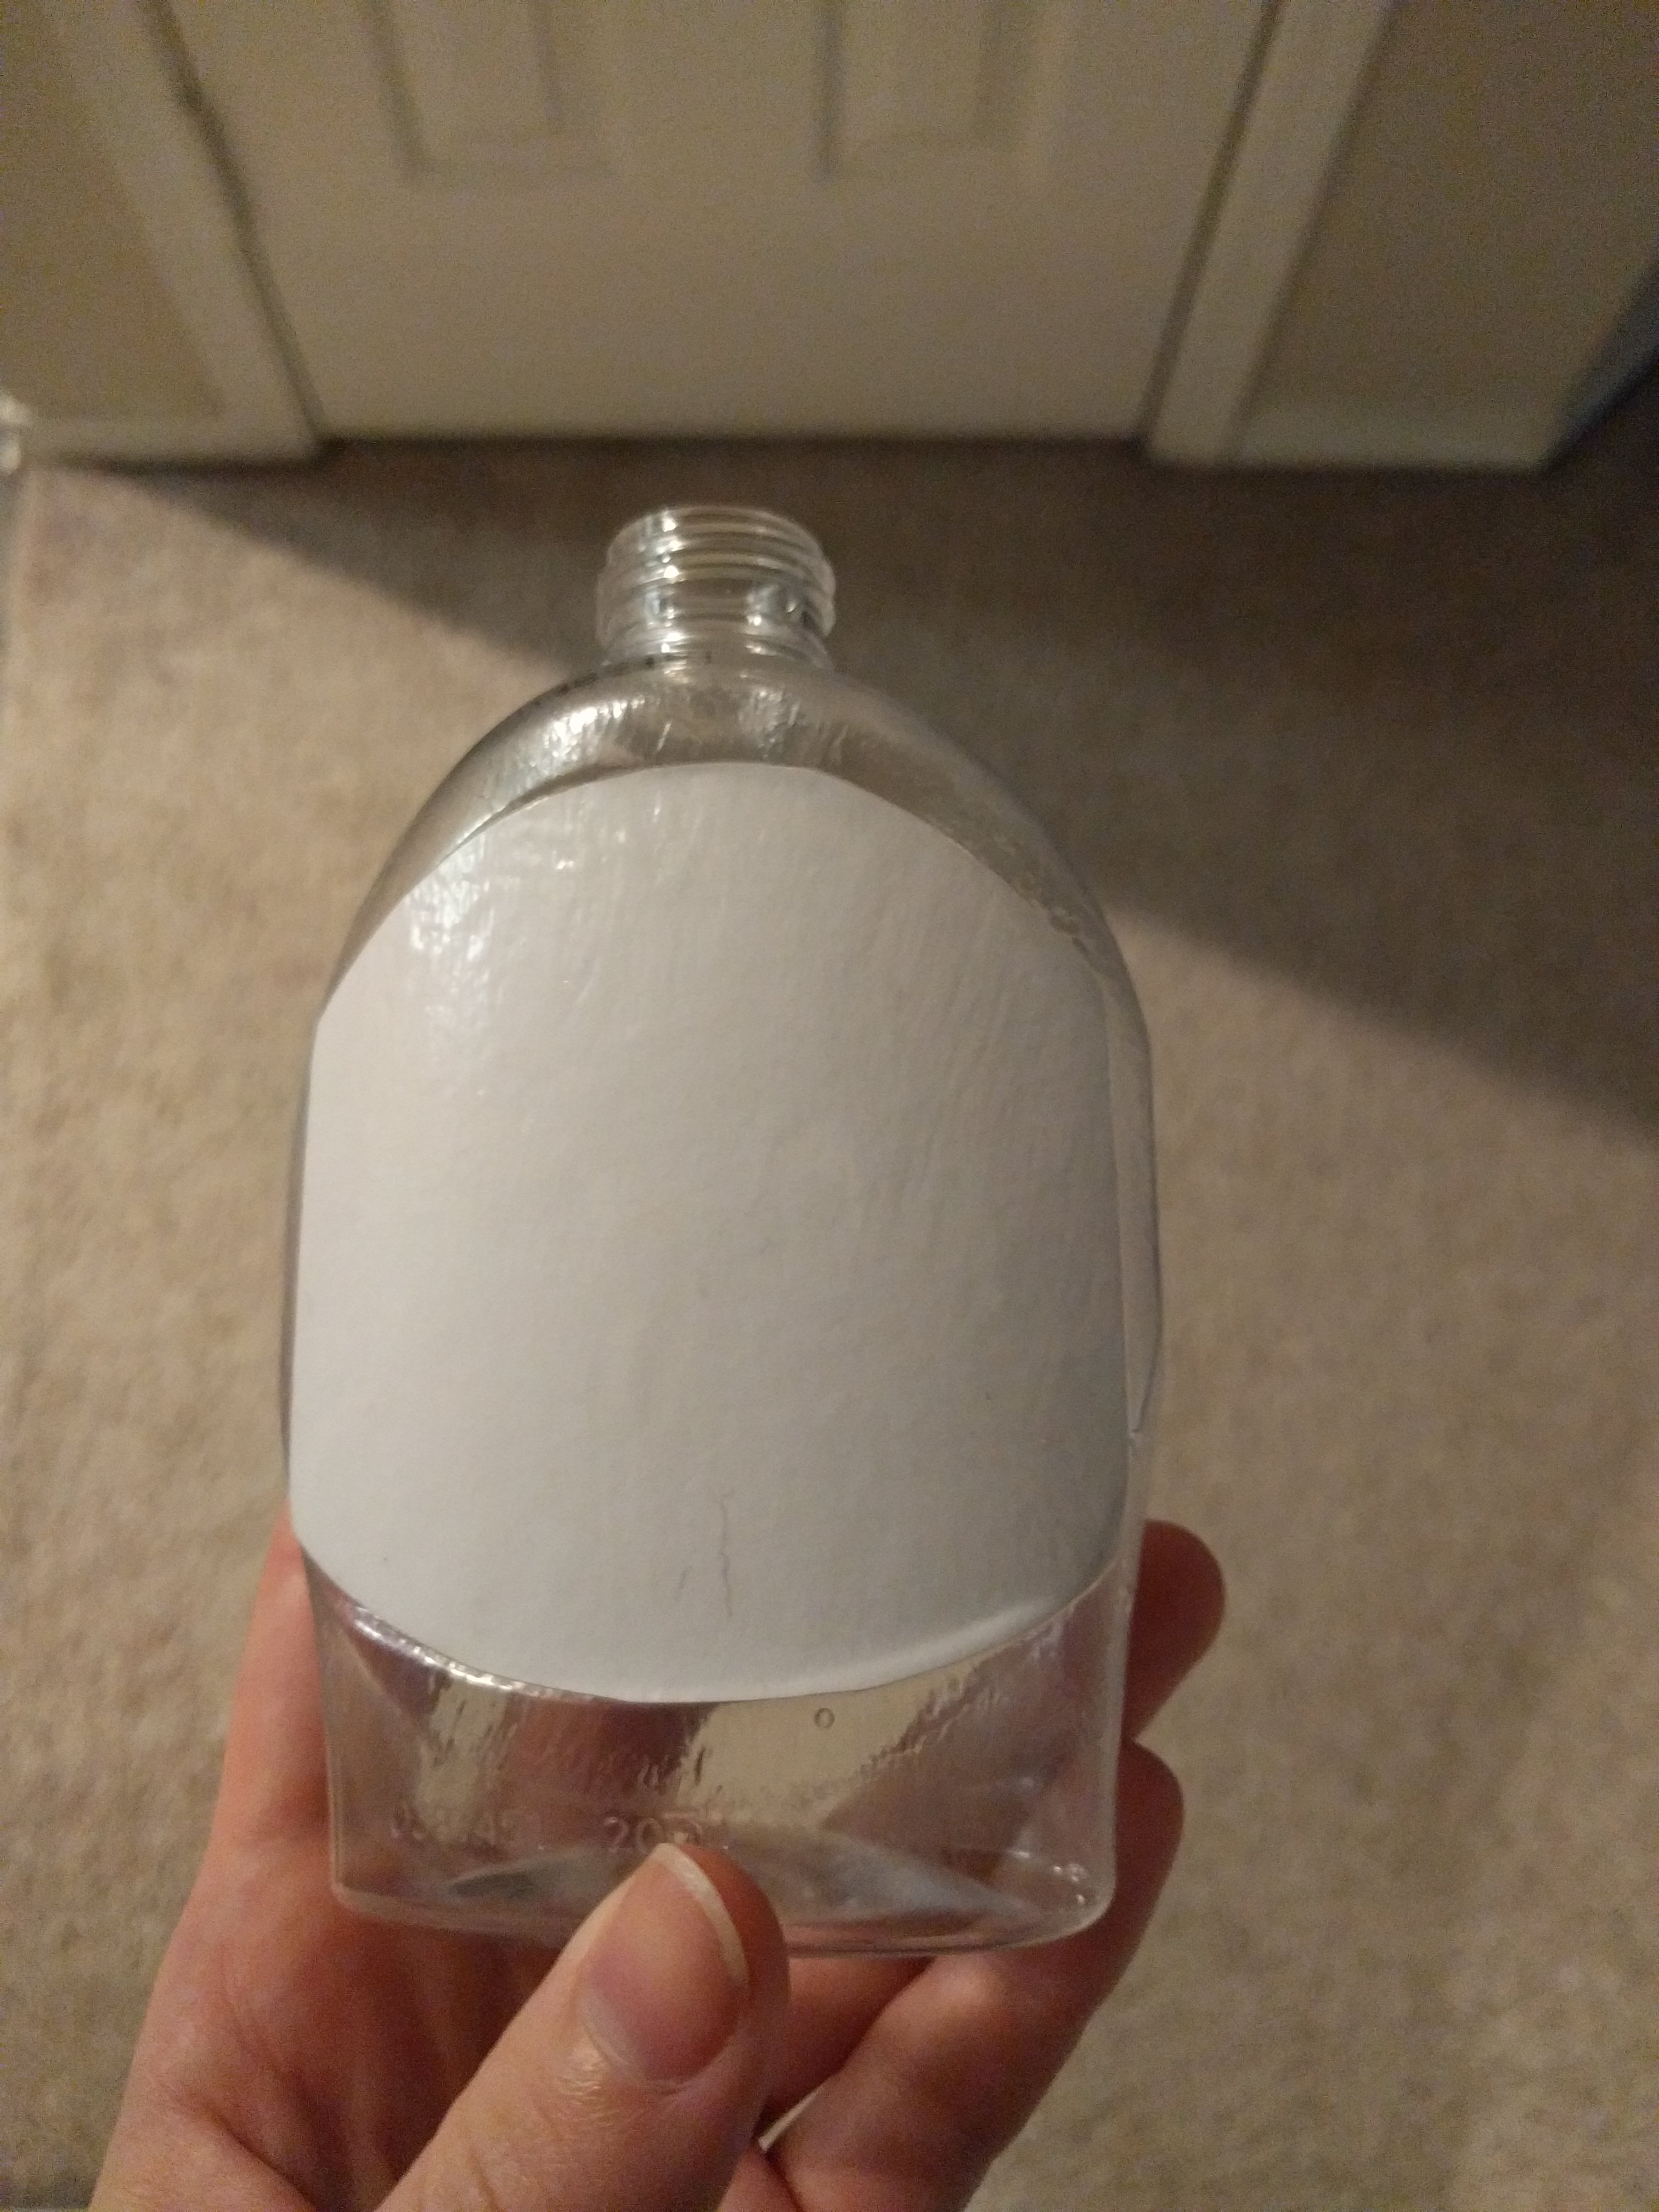 This was what it looked like after it dried.
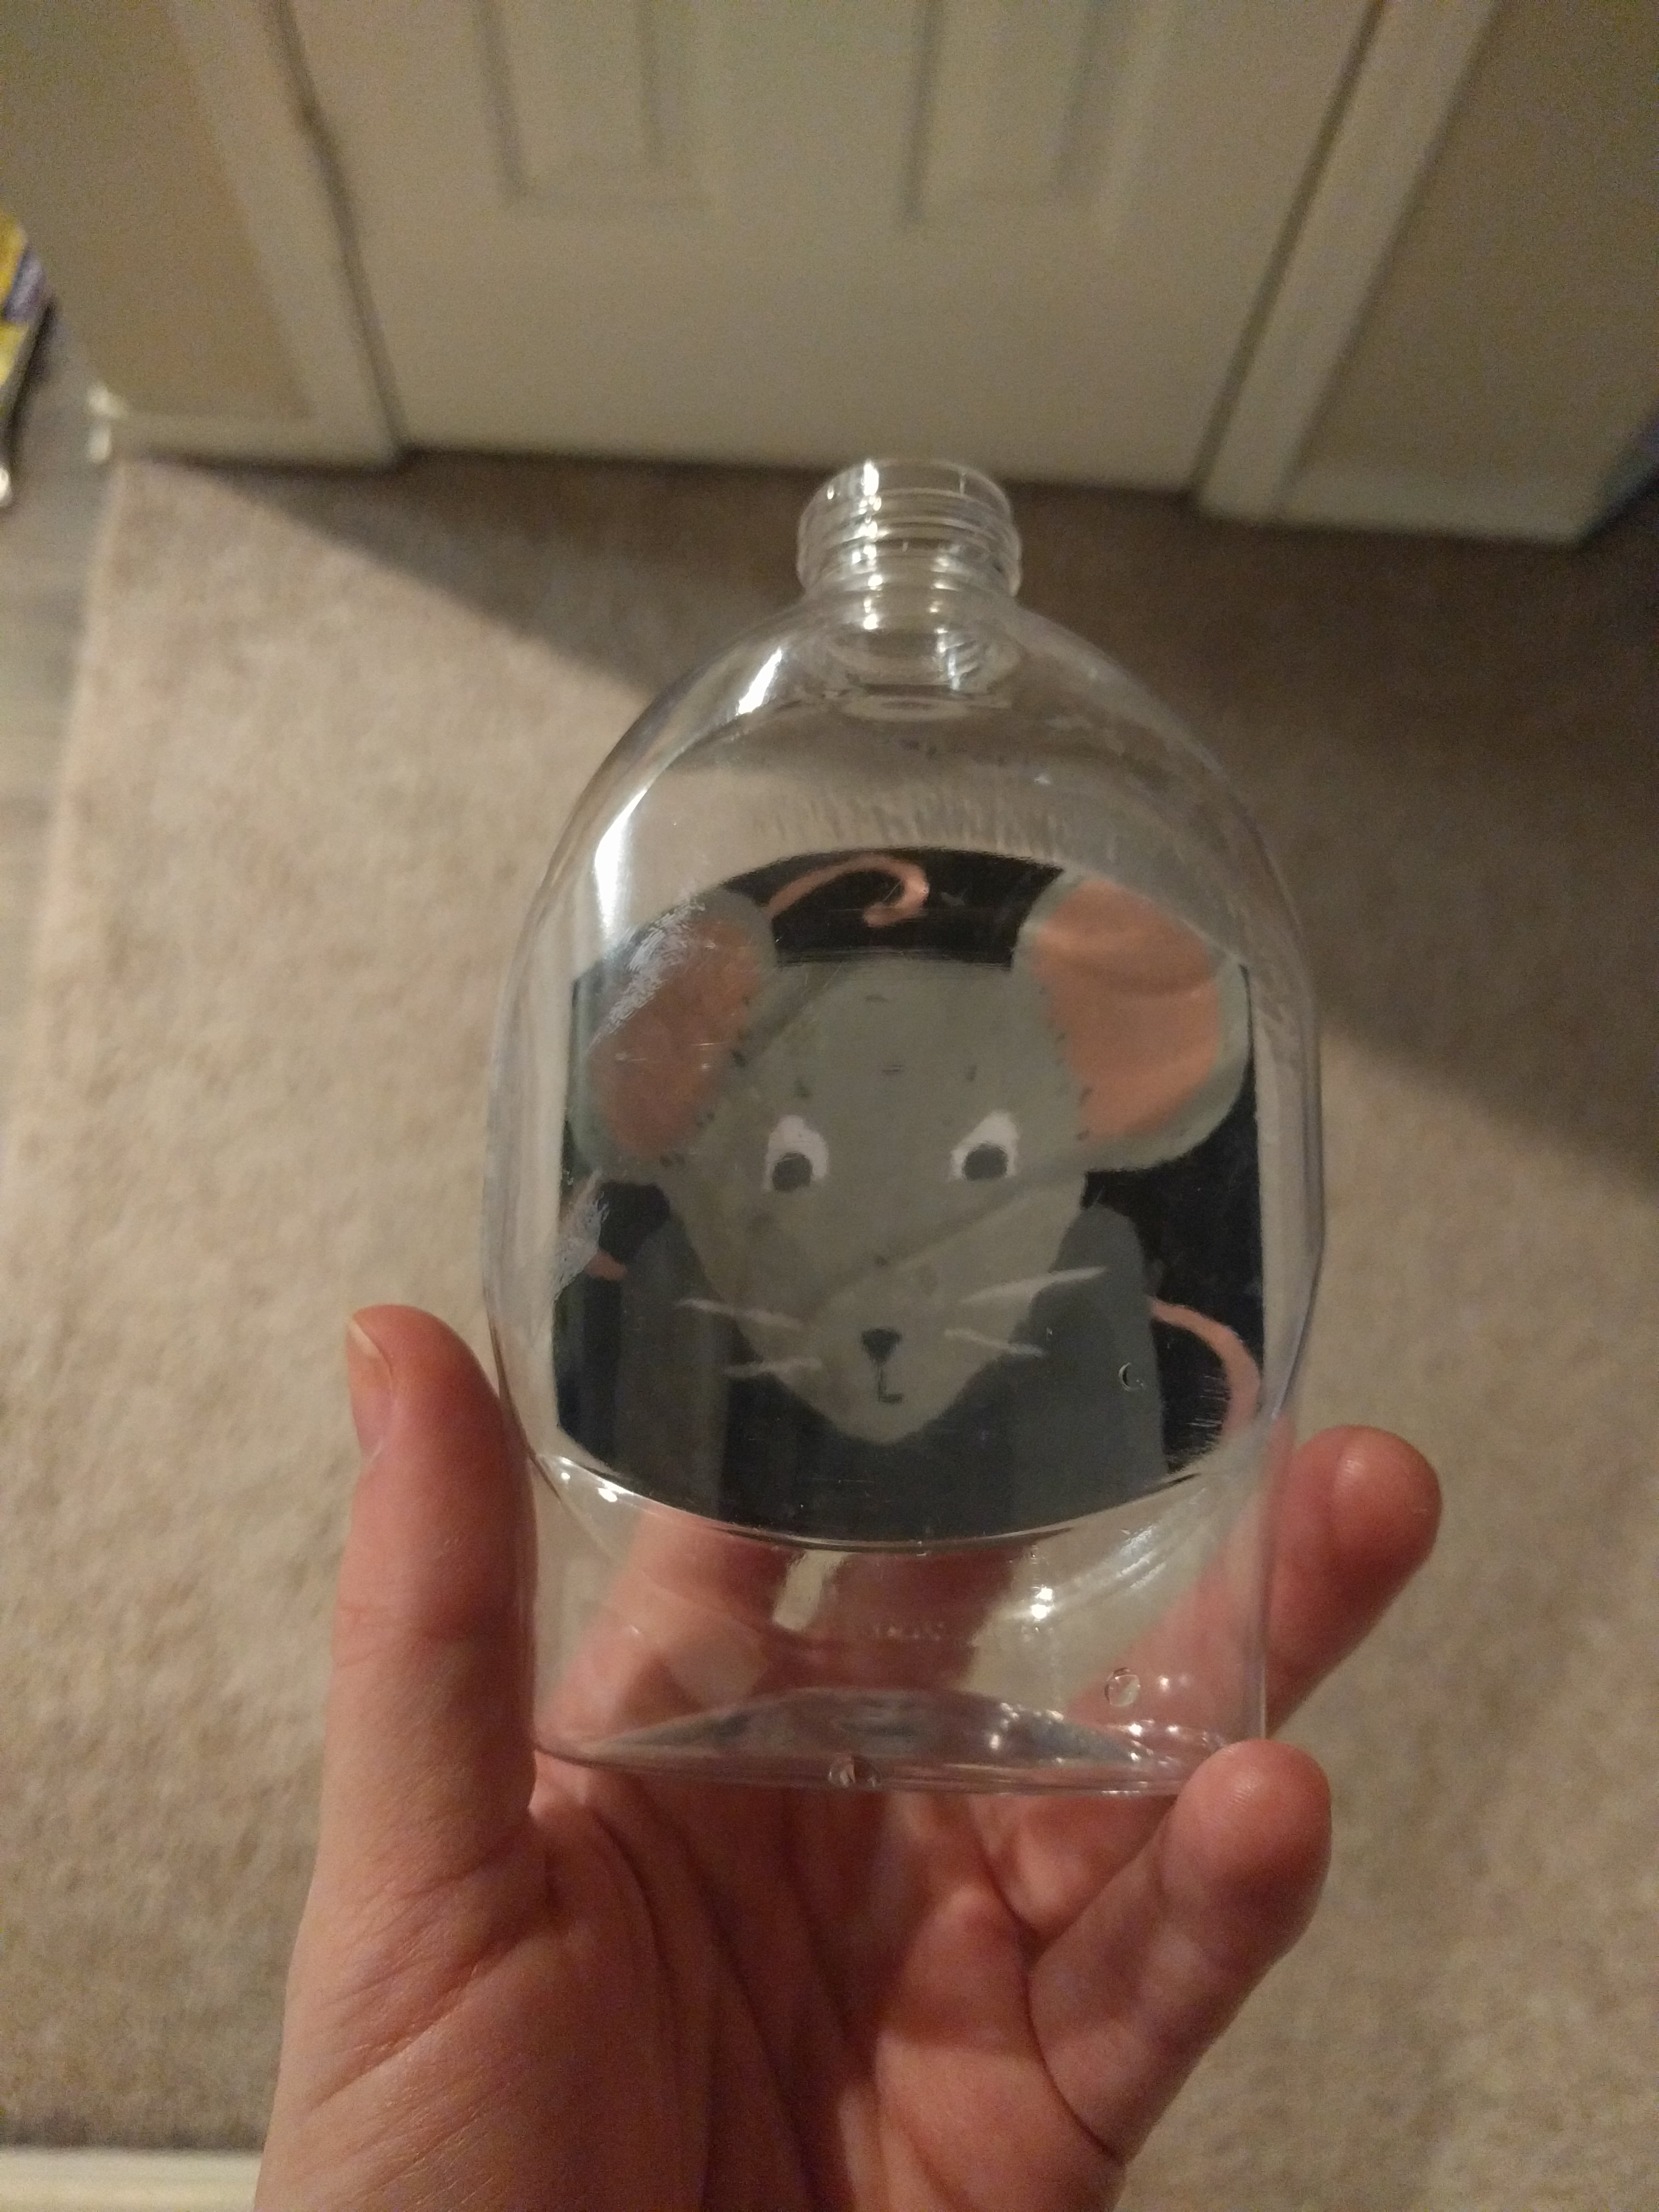 And from the front!
I painted my little kitten and their ball of yarn directly to the front of the bottle. It took more coats of paint than I would have ever expected, but the method I've heard so much about "many light coats" worked splendidly.
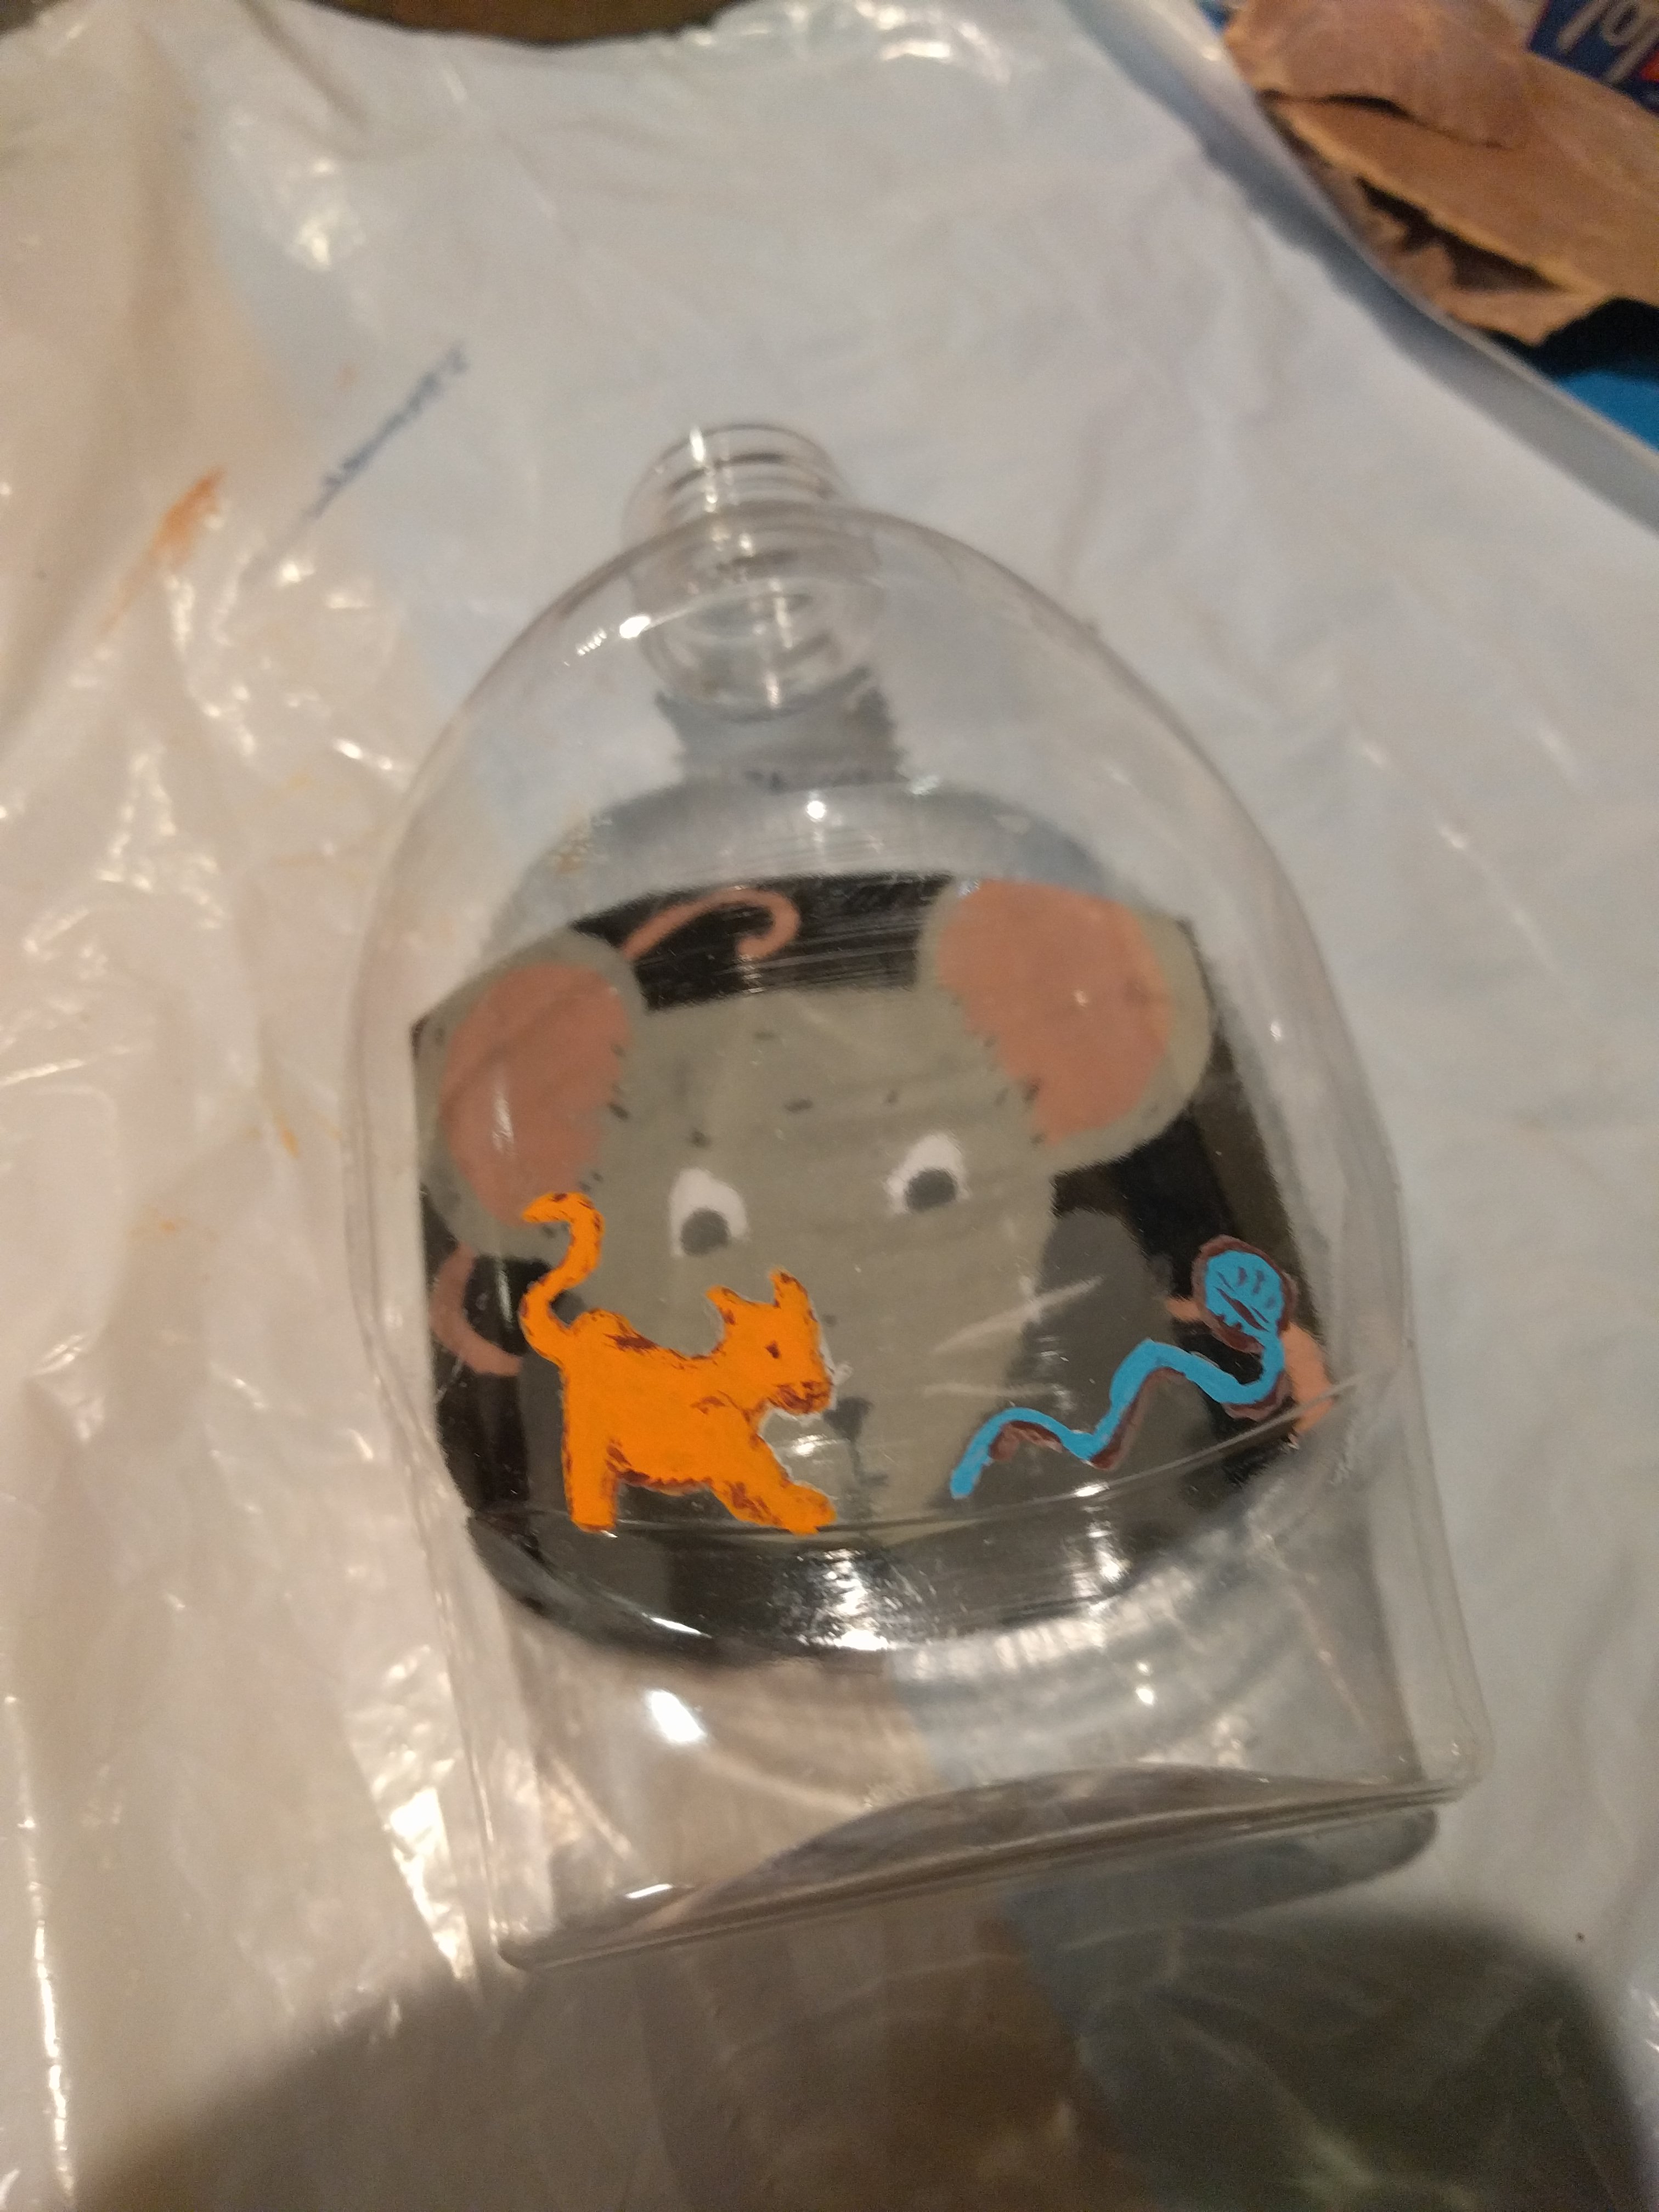 see?
see?
Then I added many many coats of sealer to it, and it turned out a bit cloudy, but quite nice.
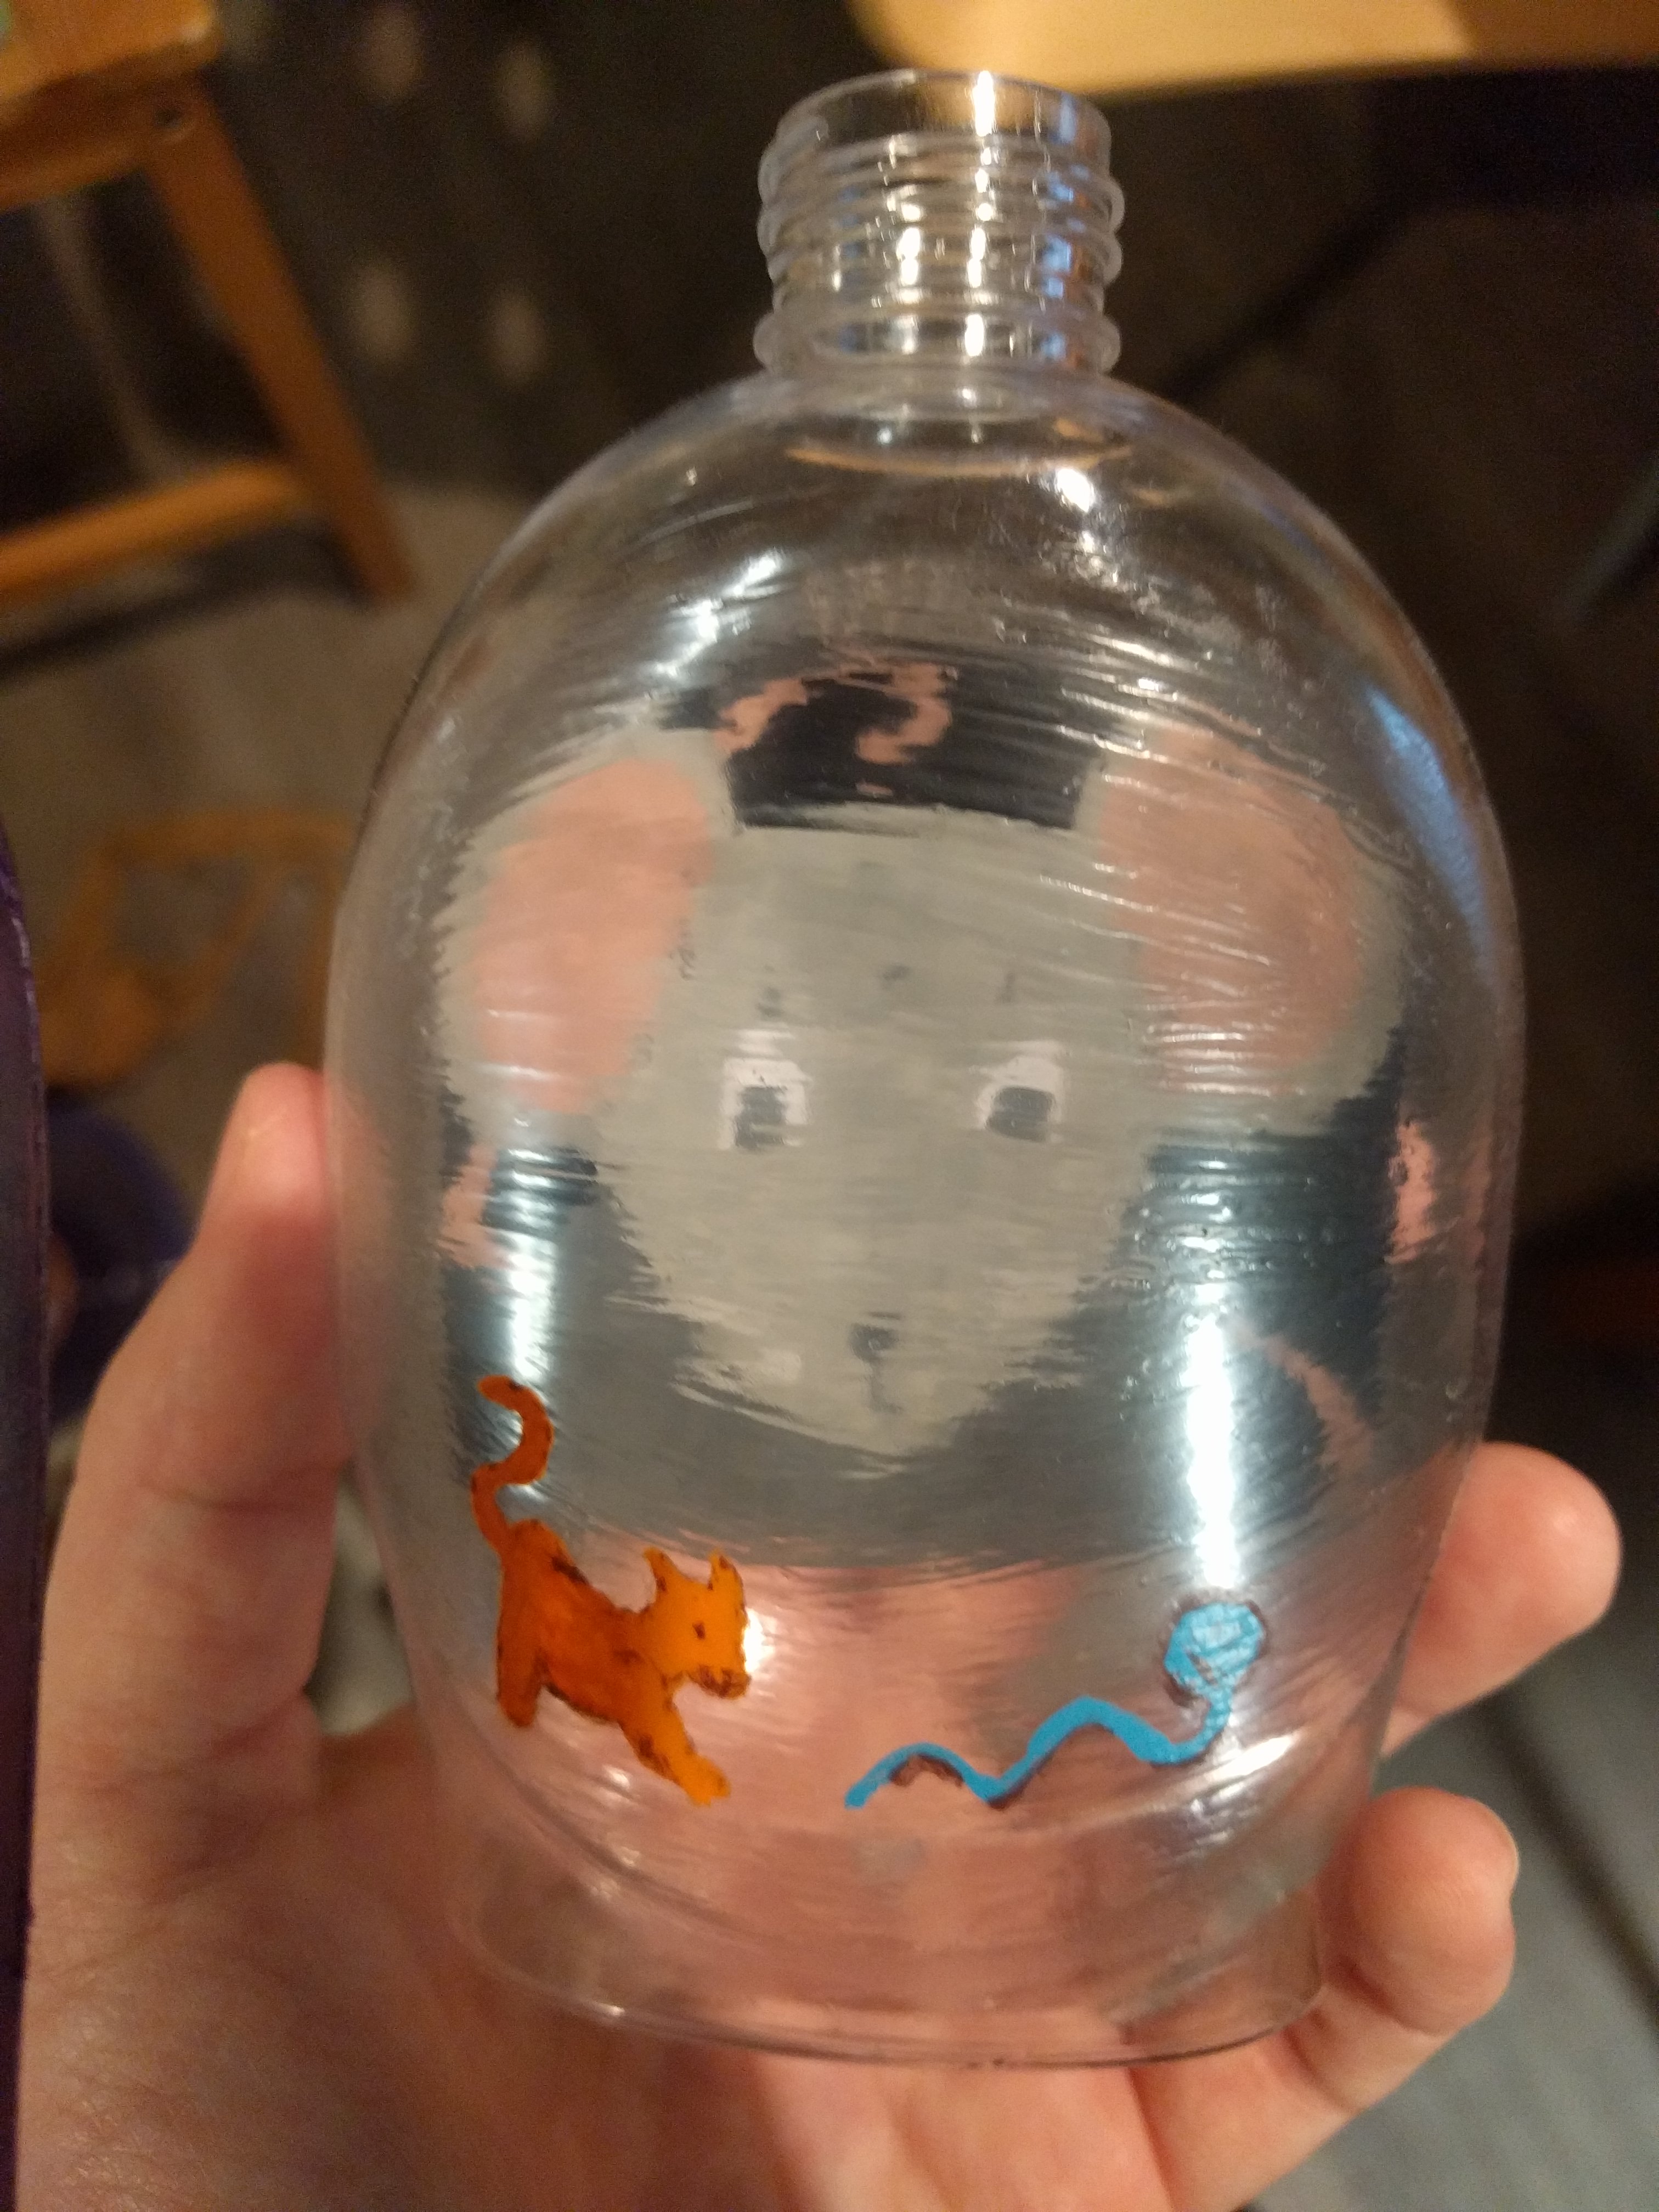 Quite nice indeed.
I gave everything a couple of days to dry, and then filled it and put it in my bathroom!
 It looks great!
I'm looking forward to replacing the one in the second bathroom and .. I think I'm going to replace the actual Softsoap one in my kitchen eventually as well! I am going to try to use a brush with some thinner, softer bristles for the sealer next time, because this one left some uneven lines. But I'm very happy with the result of my first try.