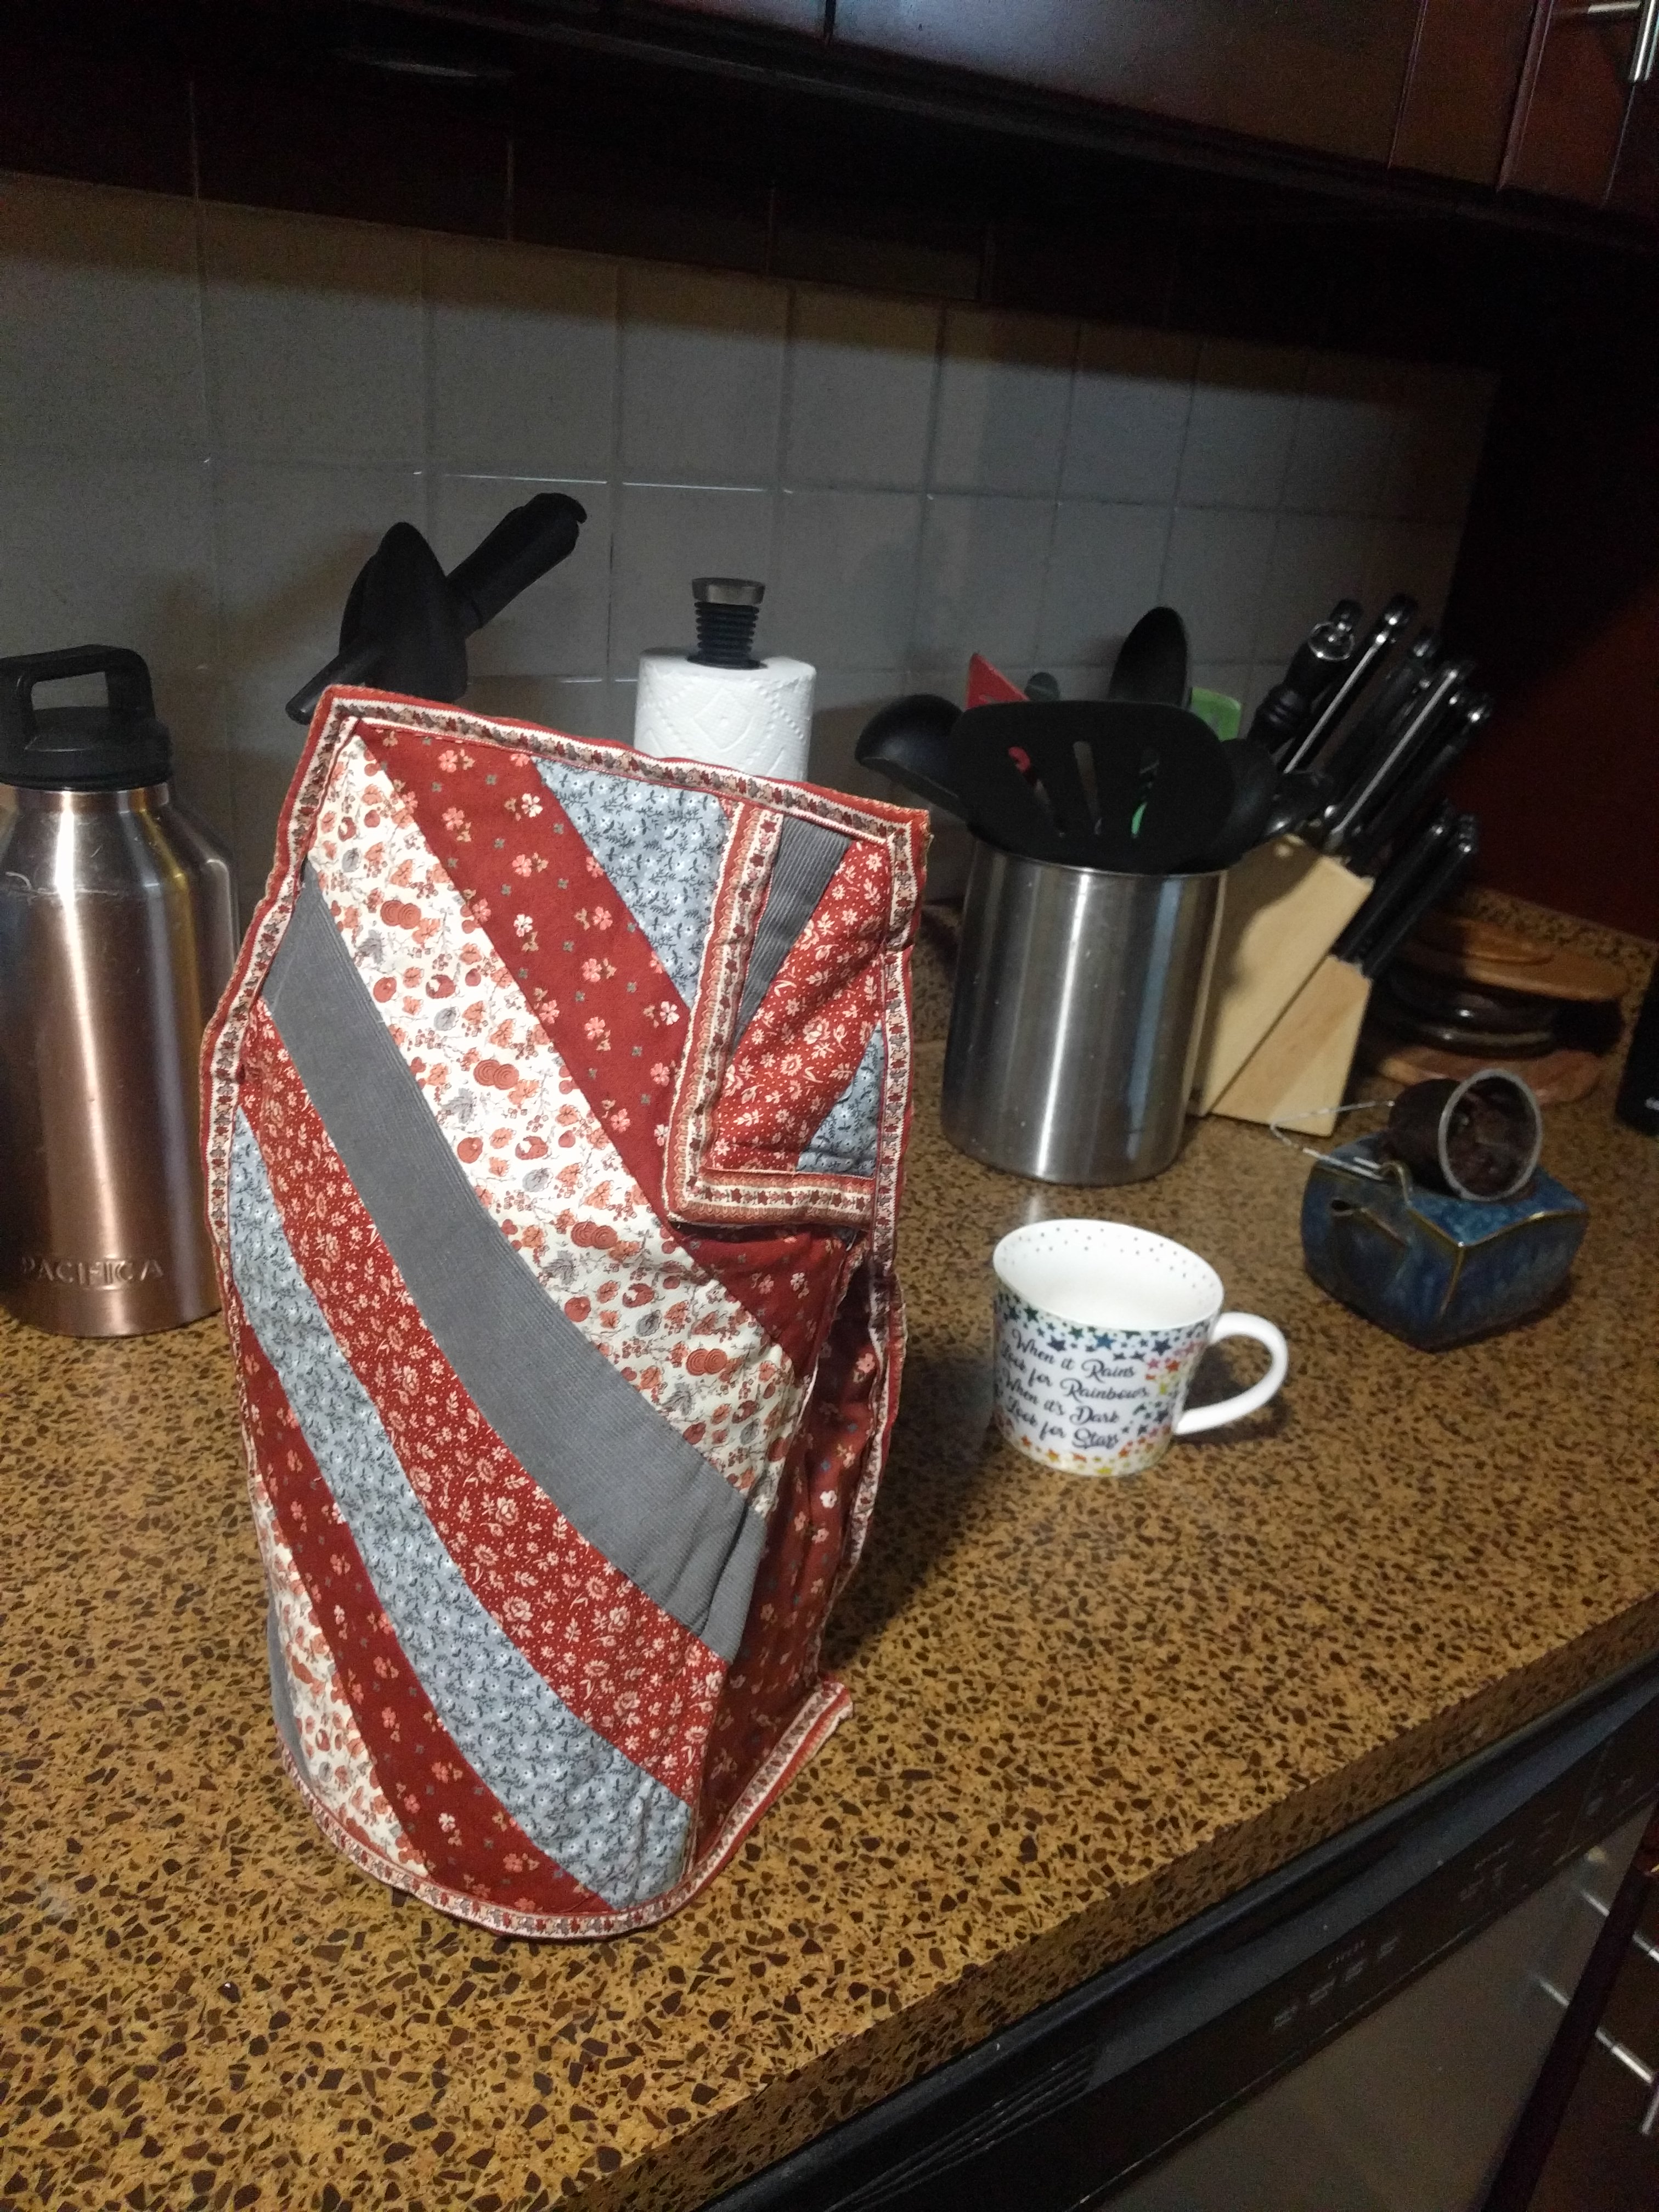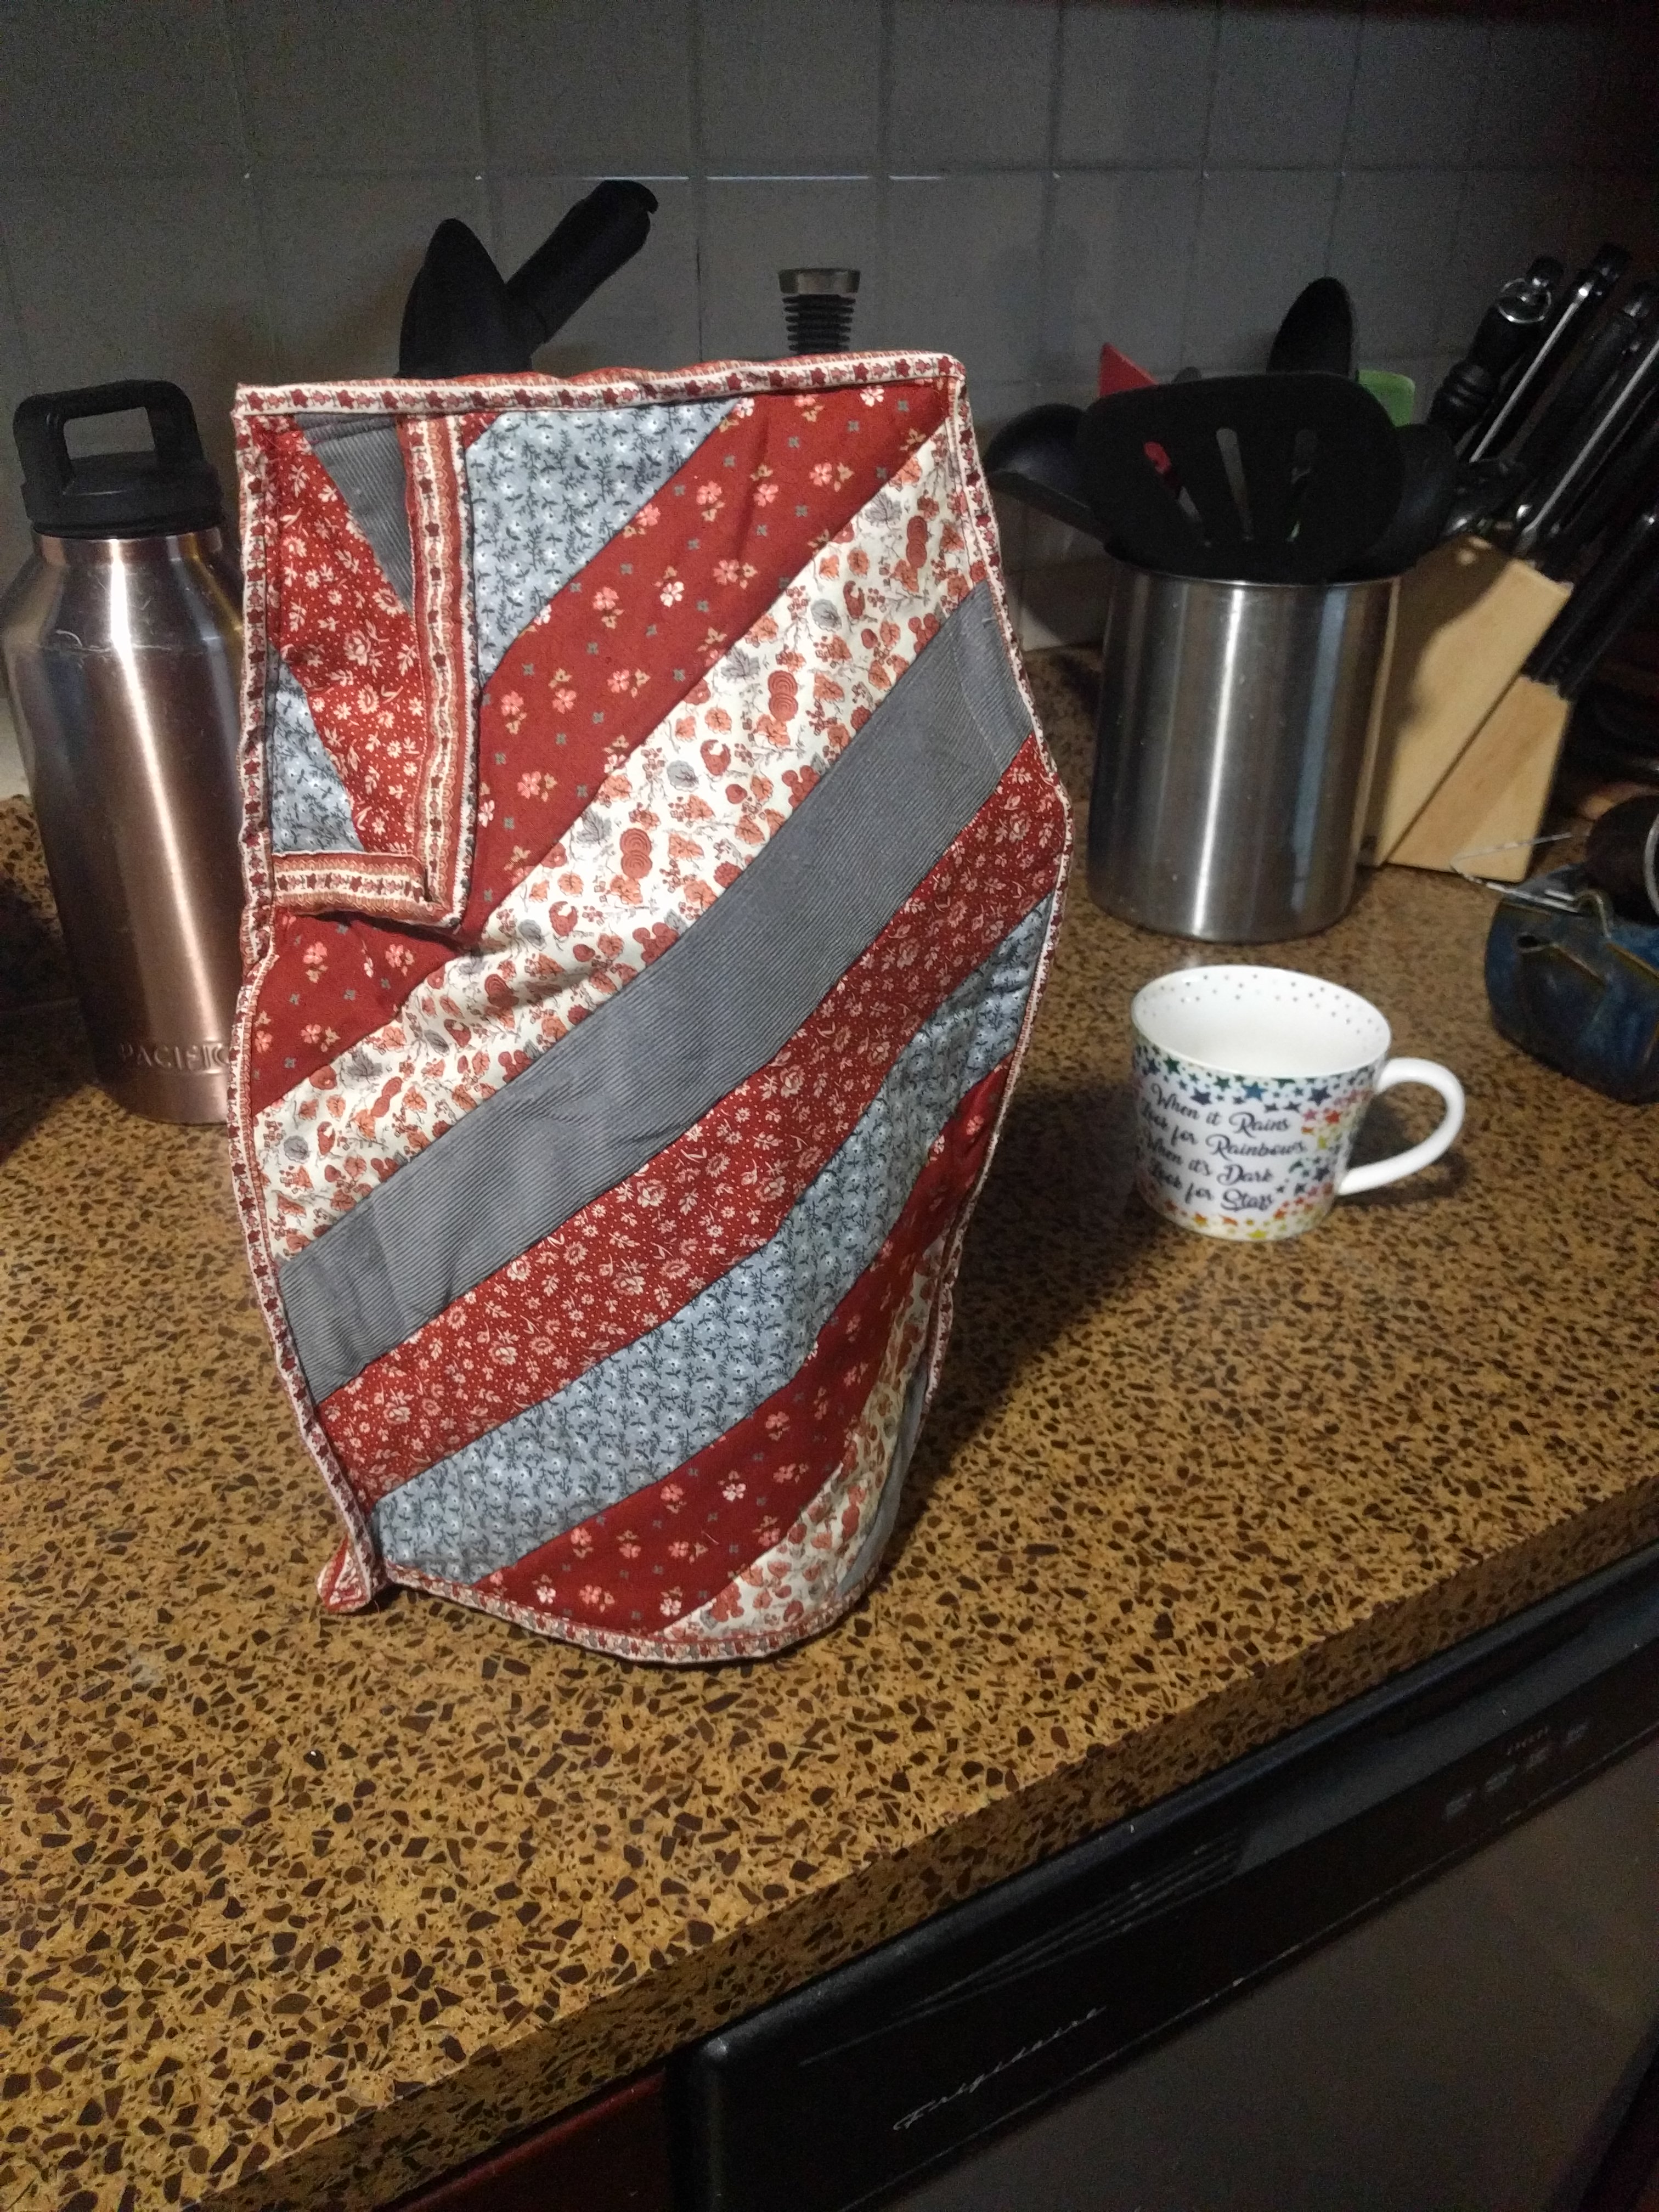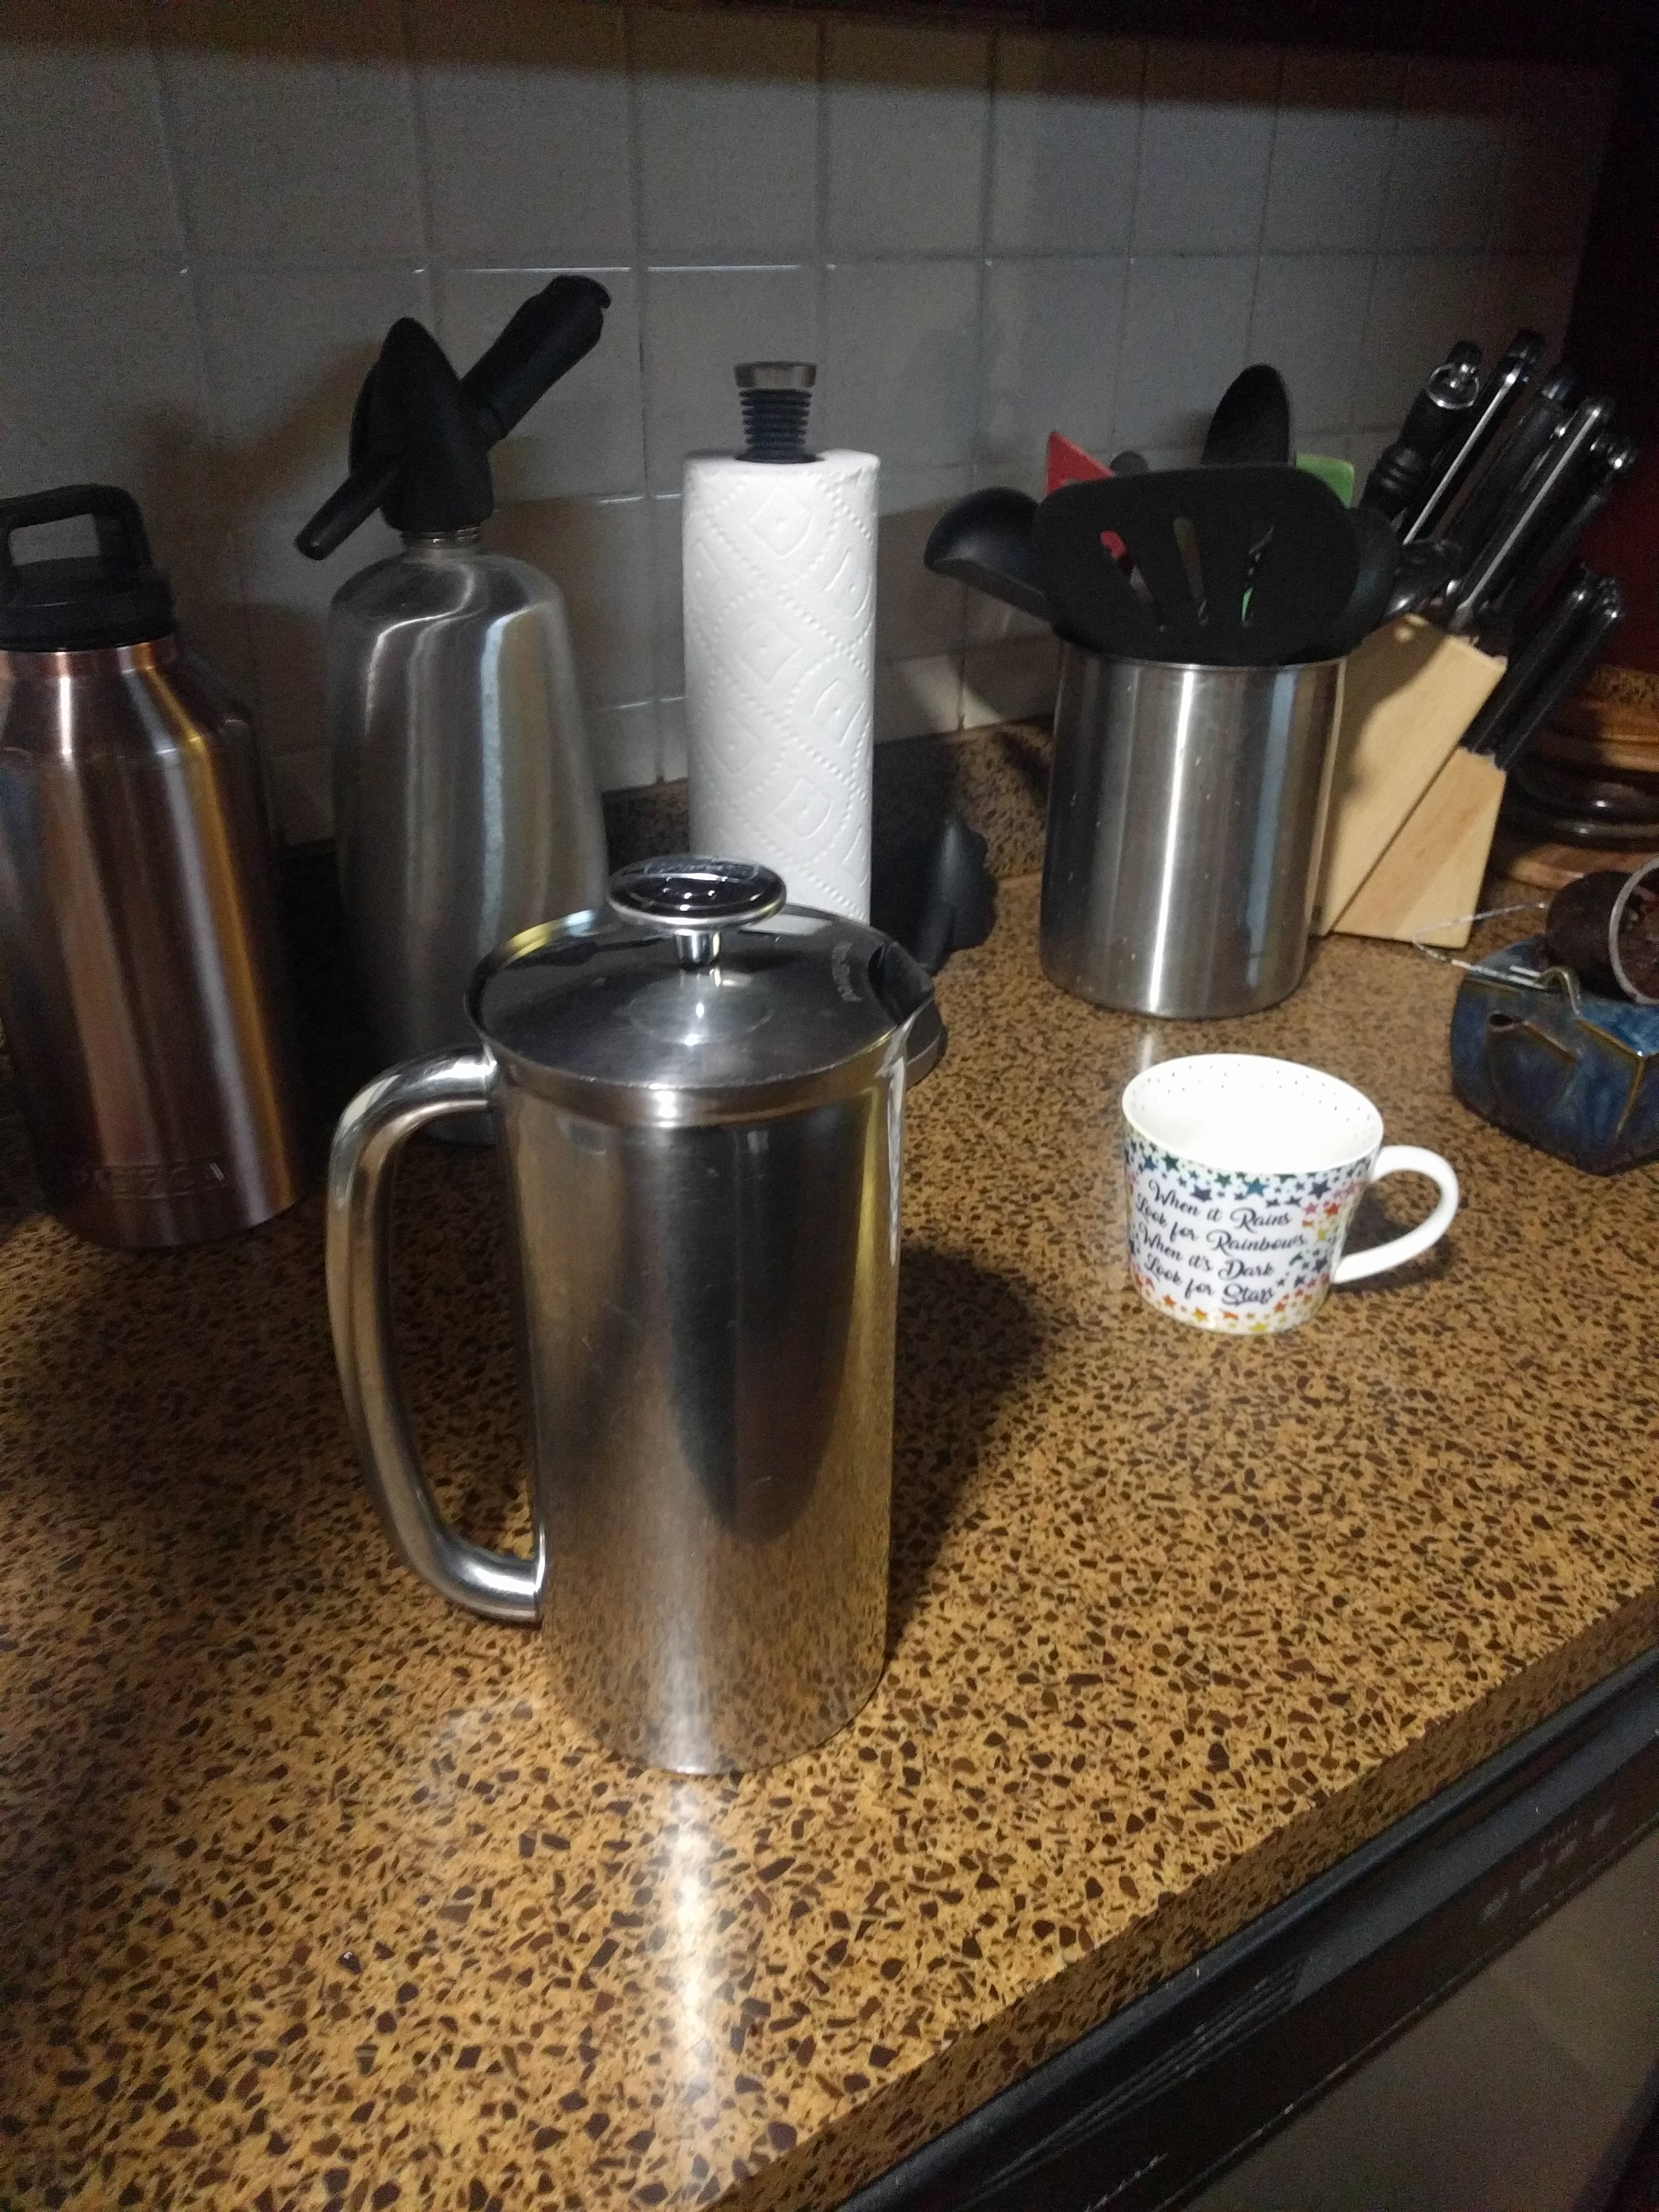
New project! New sewing project! We finally unpacked the sewing machine for this one, so one can expect some more sewing projects in the future too.
So, I start my day with coffee. So does my partner. I drink one mug, he drinks.. more than that. I enjoy getting up and making the big french press full of coffee for us to share.
And then I began waking up early. This is, generally, working out very well for me. I have a nice slow morning more or less to myself where I can have a planning session for my day and keep up with staying in touch with people. Only after that does my partner wake up and want their coffee. ..and by that point the coffee has been sitting for four or five hours.

Now I'd guess that most anyone reading this would say "that's too long to let coffee sit, why not just make enough for yourself and then make more when they get up?" ..because that would mess with the math of how much coffee works for everyone. And Because I don't want to, and because I have another idea to solve the problem, that's why!
So, instead, the very nice, double walled, french press is getting a cozy so that it can last that extra mile (it easily keeps coffee at temp for 3 hours or so).
Now first I considered making a cozy via crochet, but if you've never seen a crocheted piece.. they tend to be a bit full of holes, particularly if they are made by a beginner like me. Very useful for a lot of purposes, but probably not the most heat containing.
Upon further reflection I decided that an optimal cozy would really be quilted.
I, however have never quilted anything in my life. I am vaguely familiar with the basics, however. I decided that I wouldn't let my complete lack of experience stop me. I was going to make a quilted cozy for the coffee.
And so, we went into the boxes to go find the sewing machine. I'd been delaying on this particular dig until we'd set up the library in #thisOldClownHouse, but the weather and the caffeination care not for my preferences, and have demanded that I enable myself to do fast-paced, messy sewing. (As opposed to the slow-paced messy sewing that happens when I take it on by hand, which would probably make this project done by the time we hit summer and switched to cold brew.)
In unboxing the sewing machine and clearing out the rest of what was in a shared box, I found this
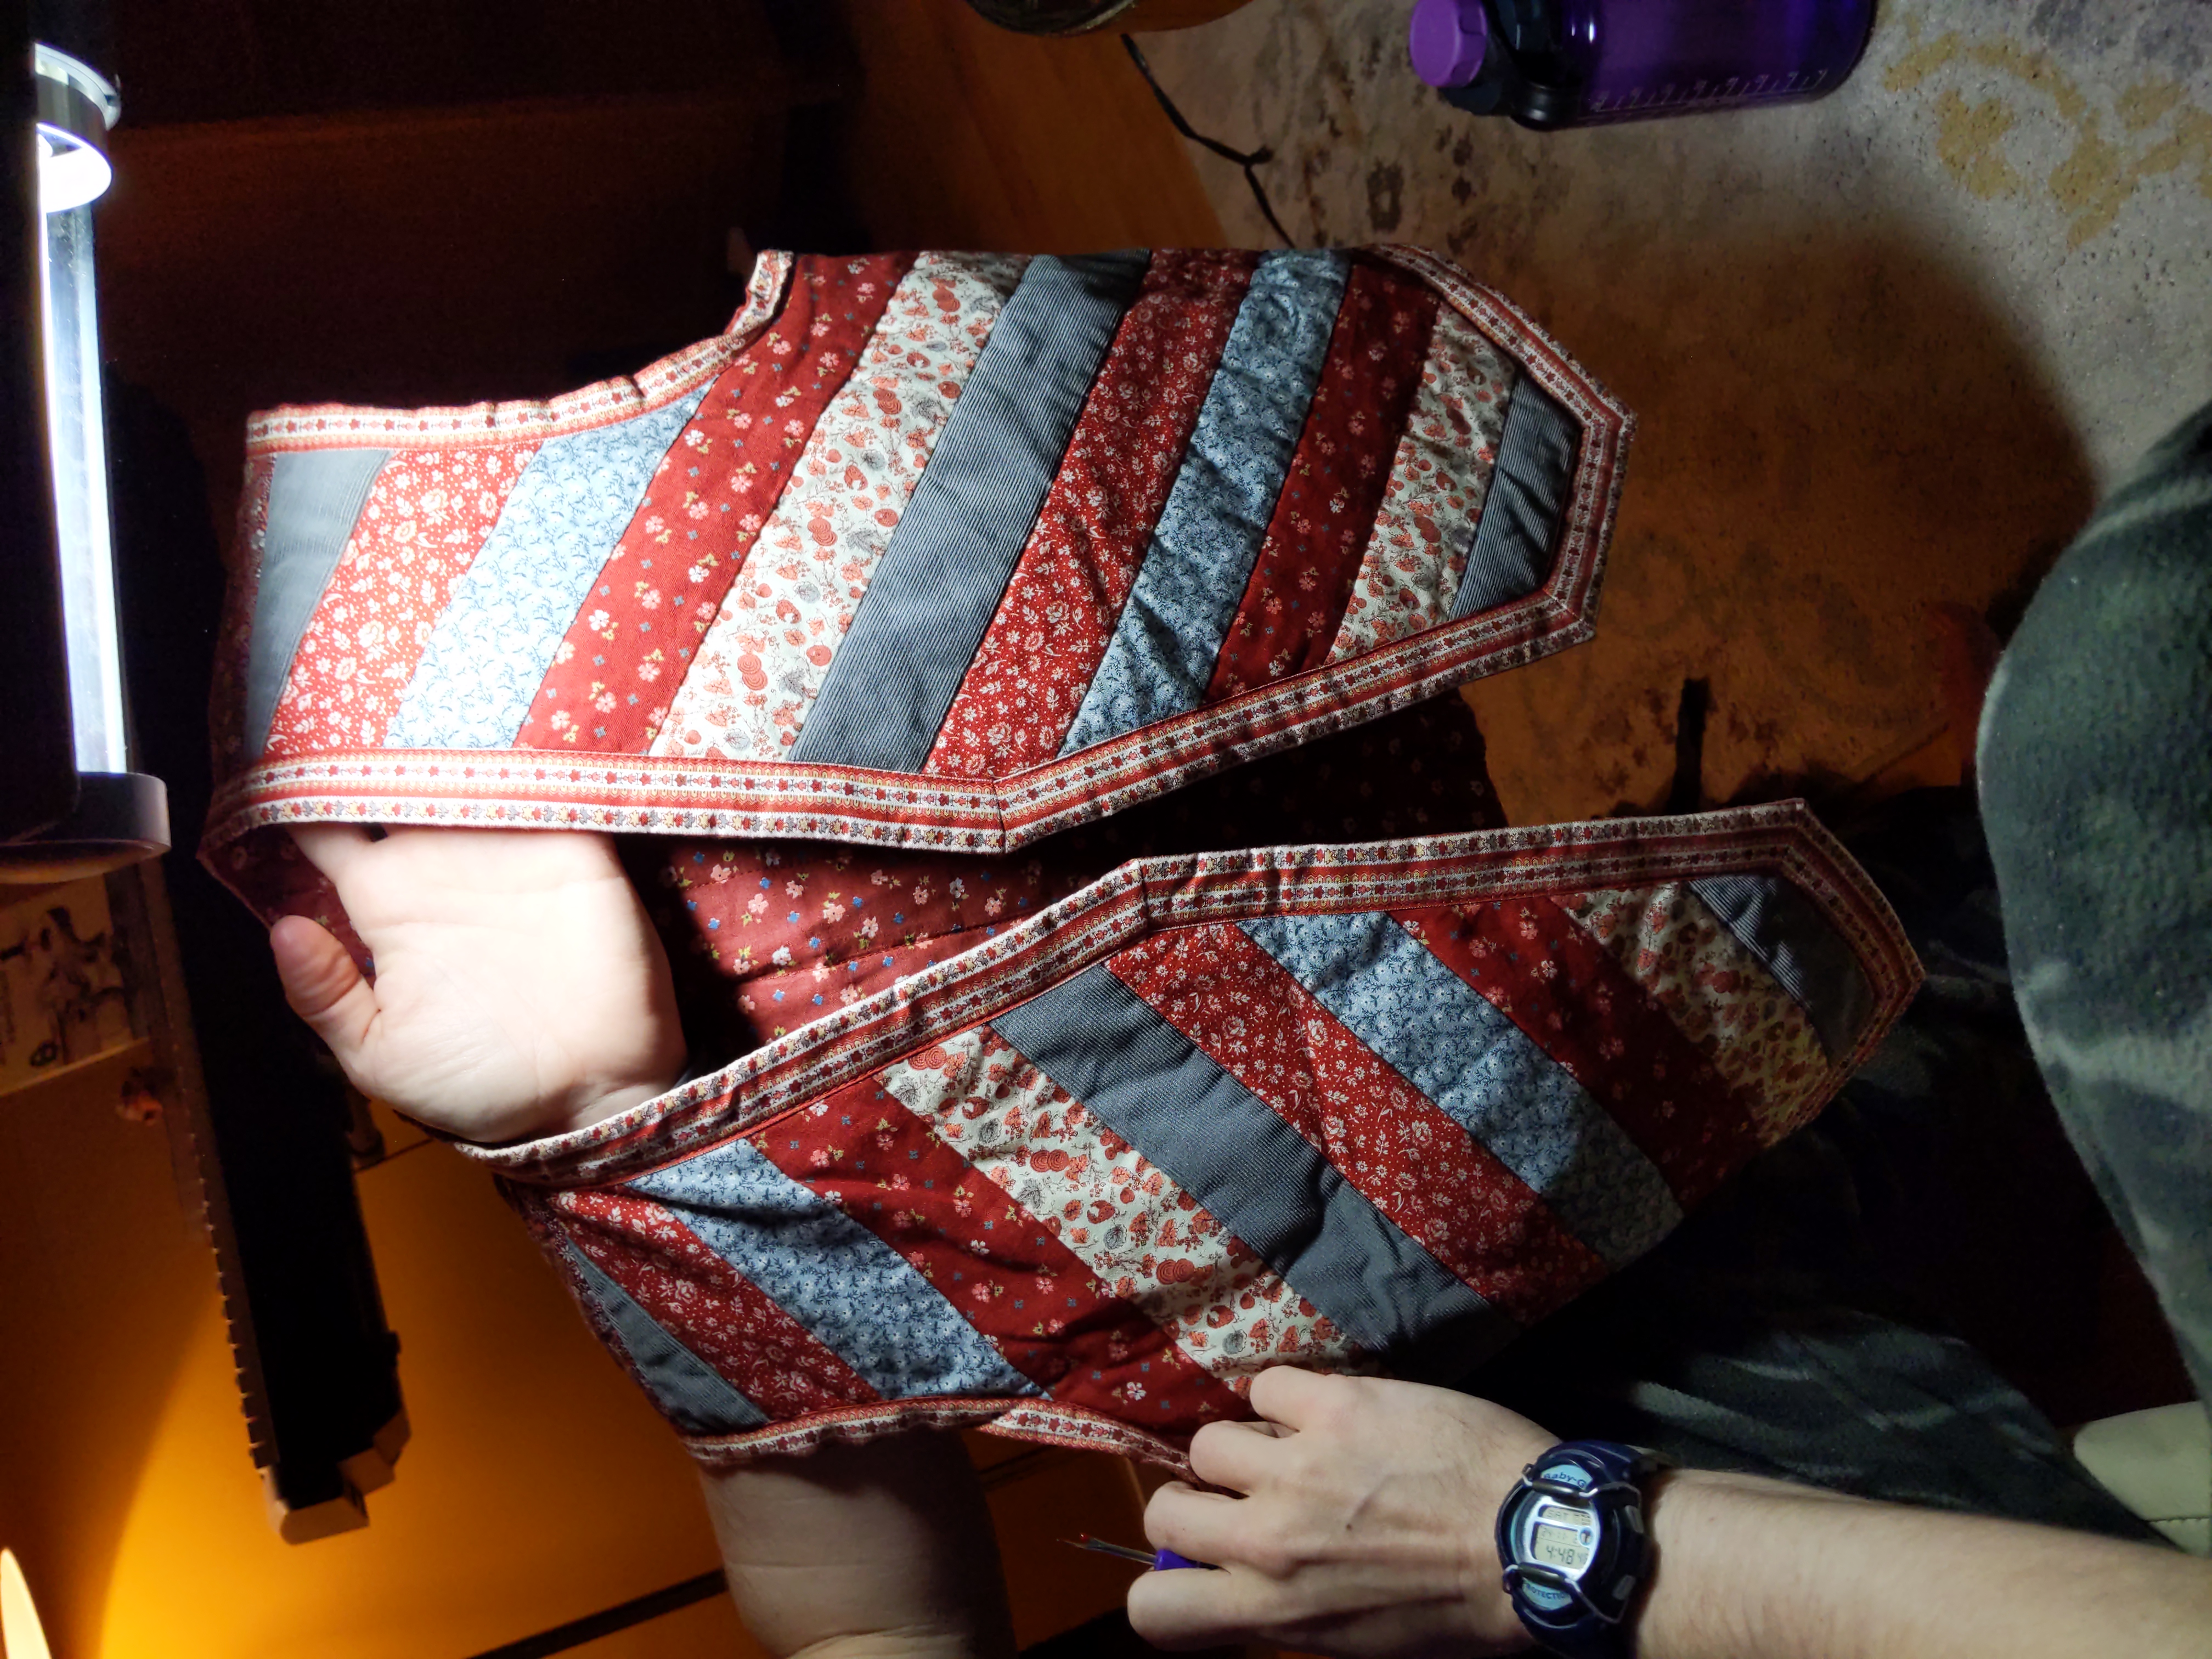
An old quilted vest that I can no longer wear! I love the colours and the pattern, but my shoulders have gotten far too large for it.
Which means.. I suddenly didn't have to learn how to quilt! I could piece together a cozy out of this already quilted material! ..right?
On to making a pattern.
We have a ton of large pieces of paper from moving, and sure, it's mostly wrinkled, but that's ok, I figured I just need a rough sketch to start looking at what I need.
So I wrapped a piece of it around the french press to get a good idea of how large it'd need to be.
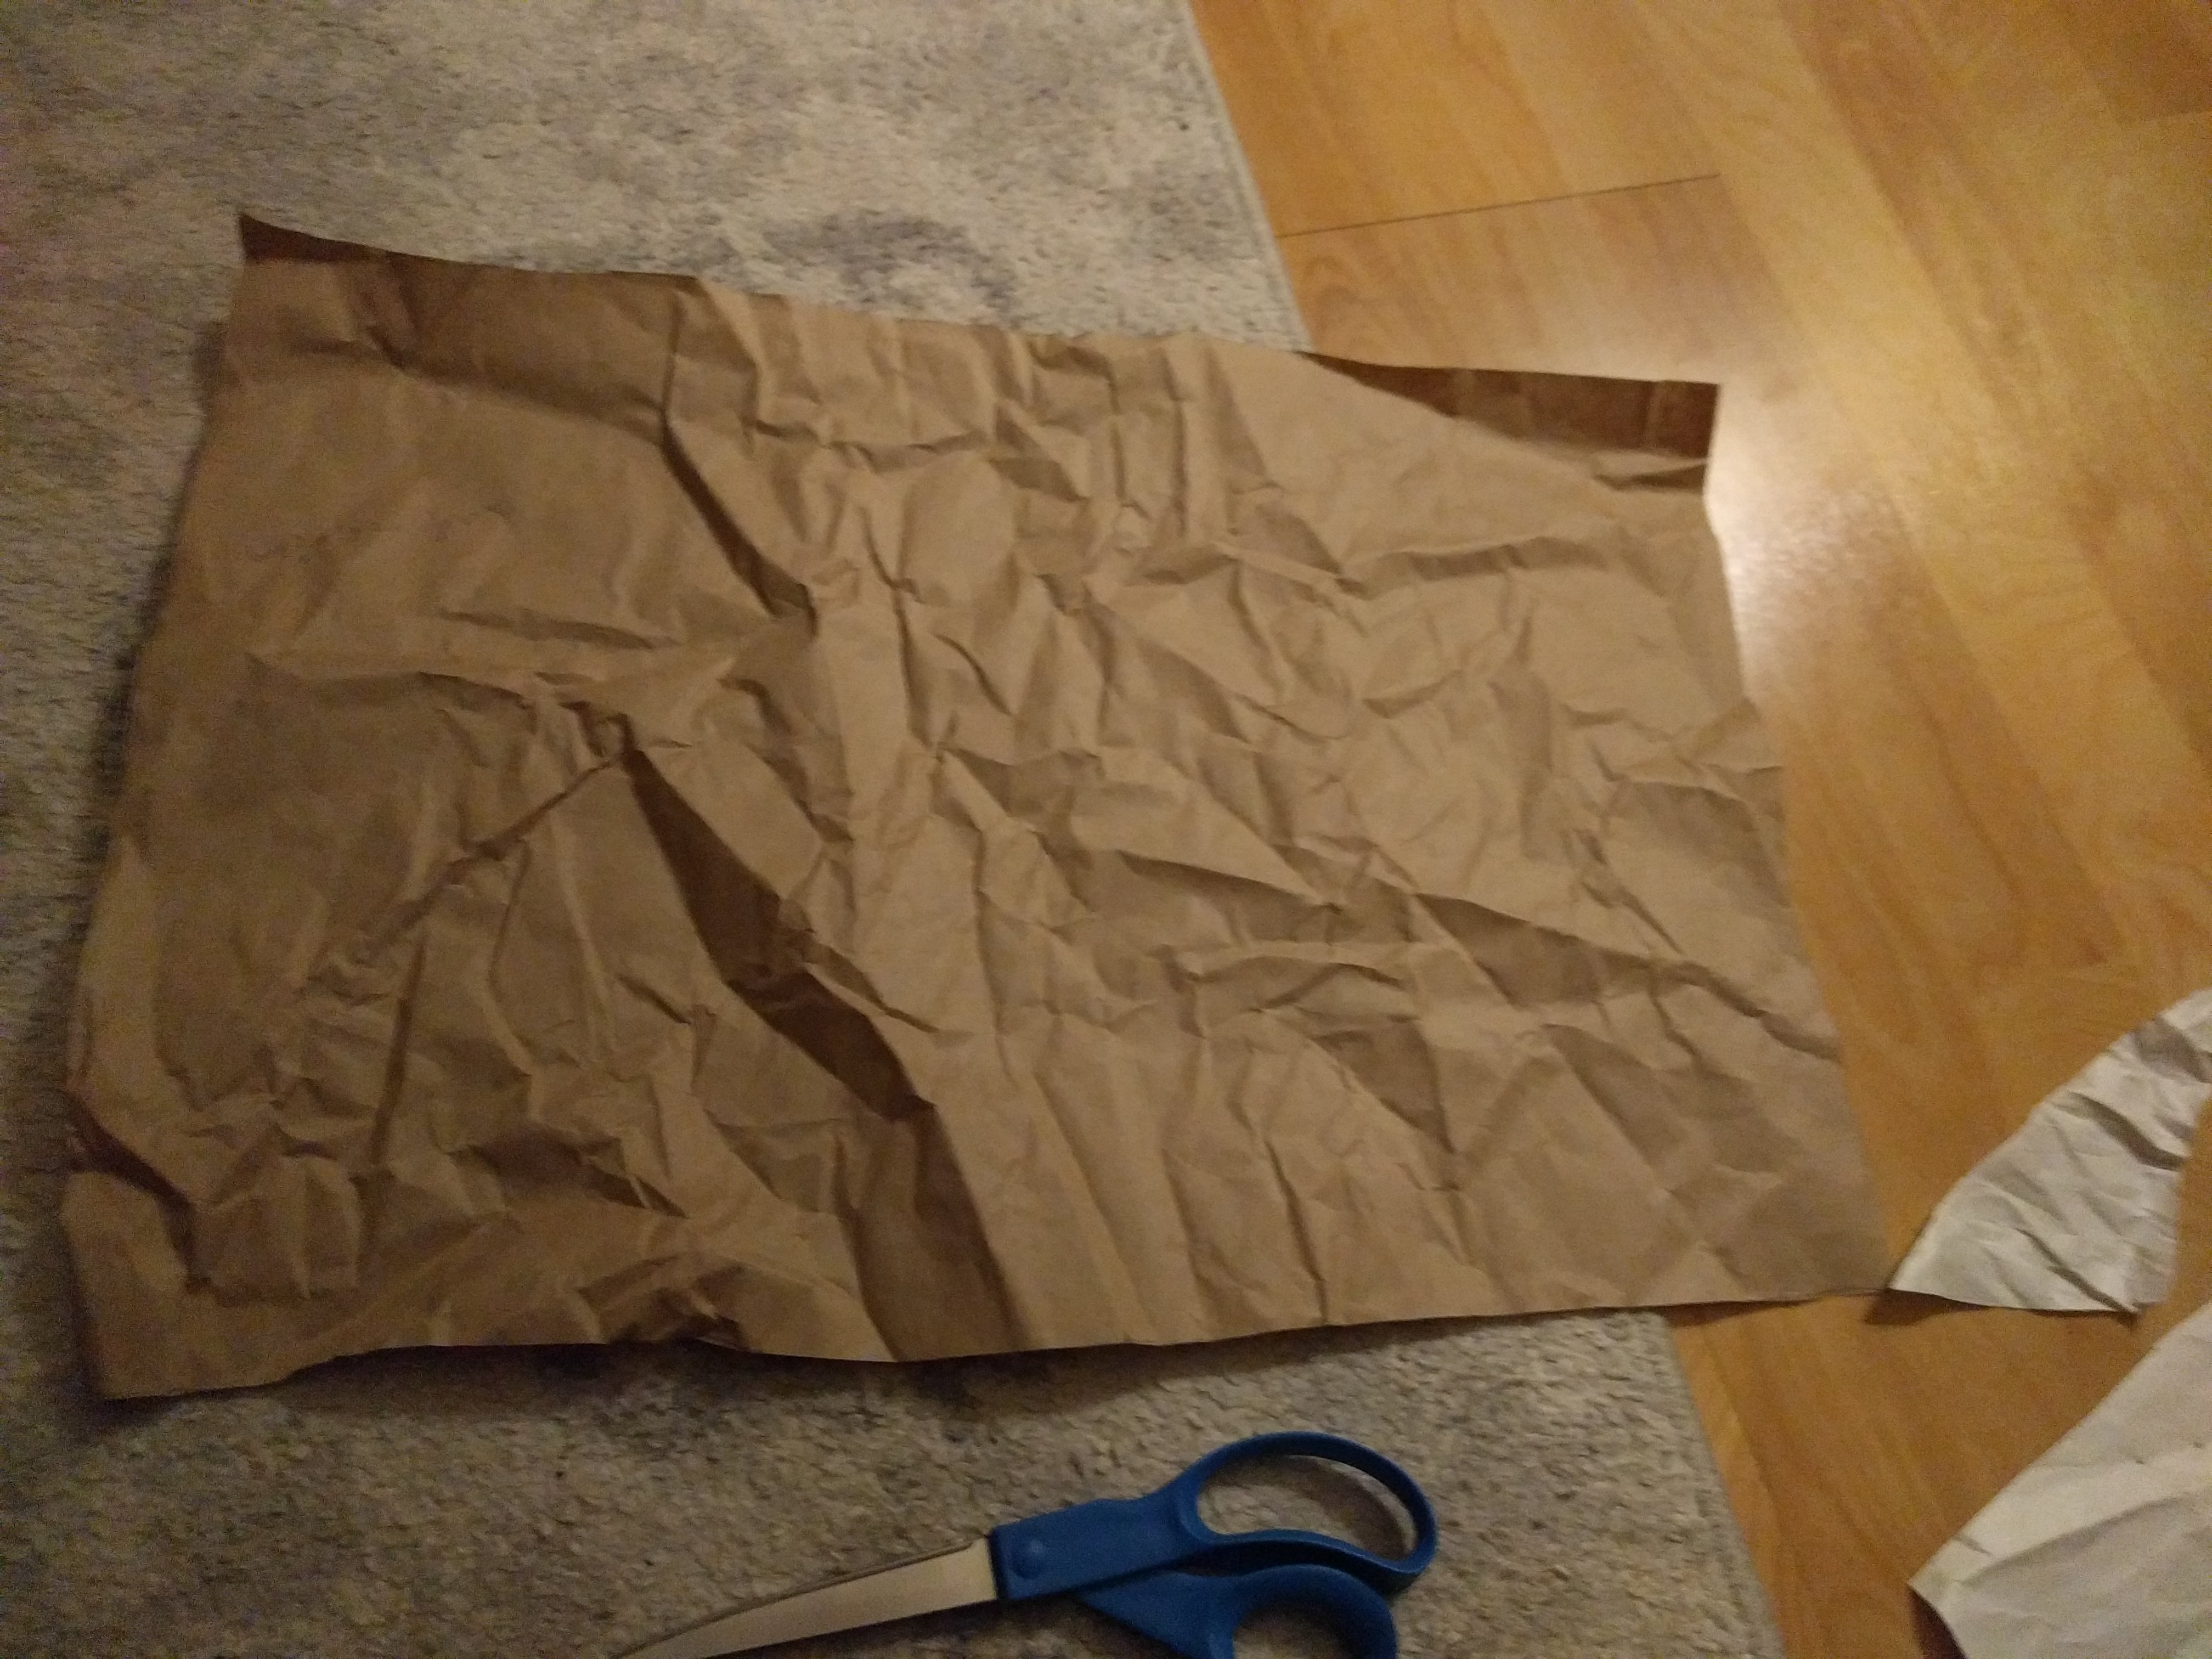
I then took another piece of paper and traced the outlines of the fronts of the vest, as I primarily wanted to use the fun diagonal stripes for this.
The vest fronts were more than tall enough, but didn't quite manage to be wide enough to make it the full width, but cutting out the paper tracings of them allowed me to play around with how I could piece them together and make something that should fit. and I decided that I'd make a shape on one side with some additional material from the vest back to make it to that last bit of the way around.
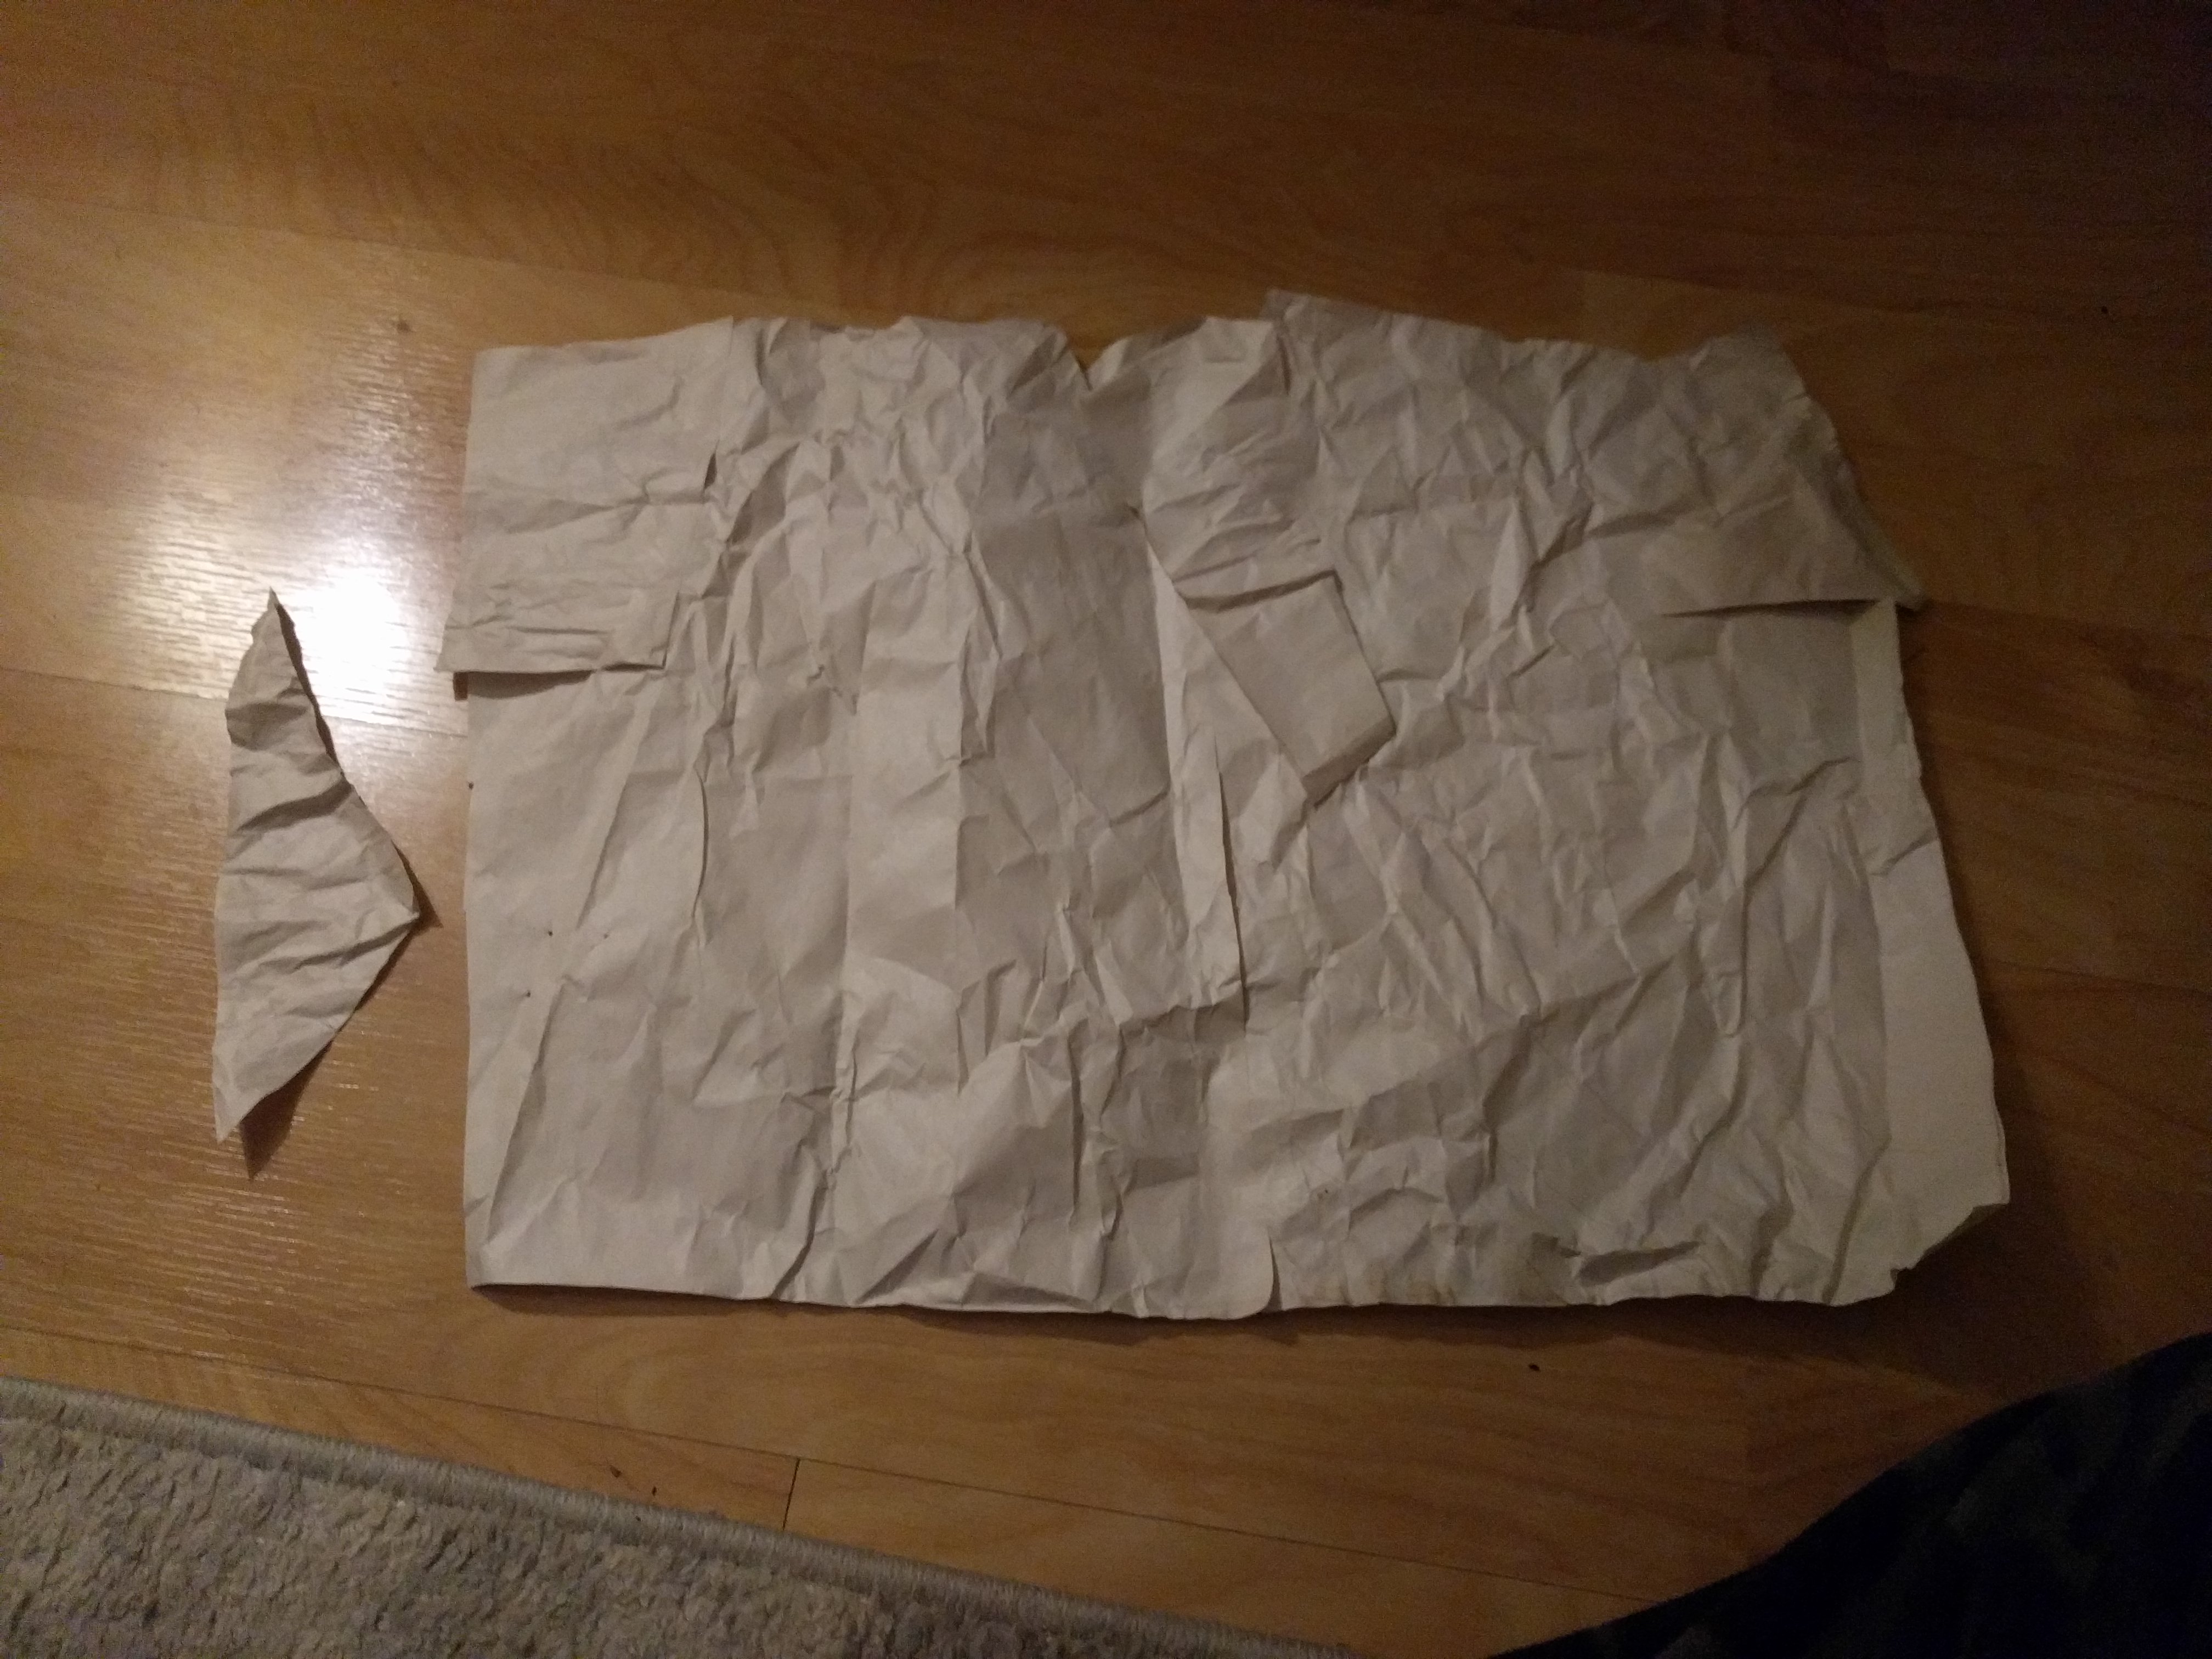
So! It looked to be possible. And so I got out my seam ripper and did some frog sewing (rip-it, rip-it), and took apart the main pieces of the vest. As I was puzzling out which pieces of binding tape needed to be pulled when in order to remove things without having to cut into them, I was struck by the idea that "If you want to know how something is made, take it apart!" I have seen bias and other edge tapes used some, but not a lot and haven't done very much with them. Pulling this vest apart gave me some new insights as to things that can be accomplished with them. Some real thought went into how the vest was constructed, and left clean lines and friendly edges around what would have otherwise been a mess of fabric and batting layers. It was soothing work. It did make me feel a little bit sad to be deconstructing it, but less sad than I would have felt with it just sitting in my closet for ages.
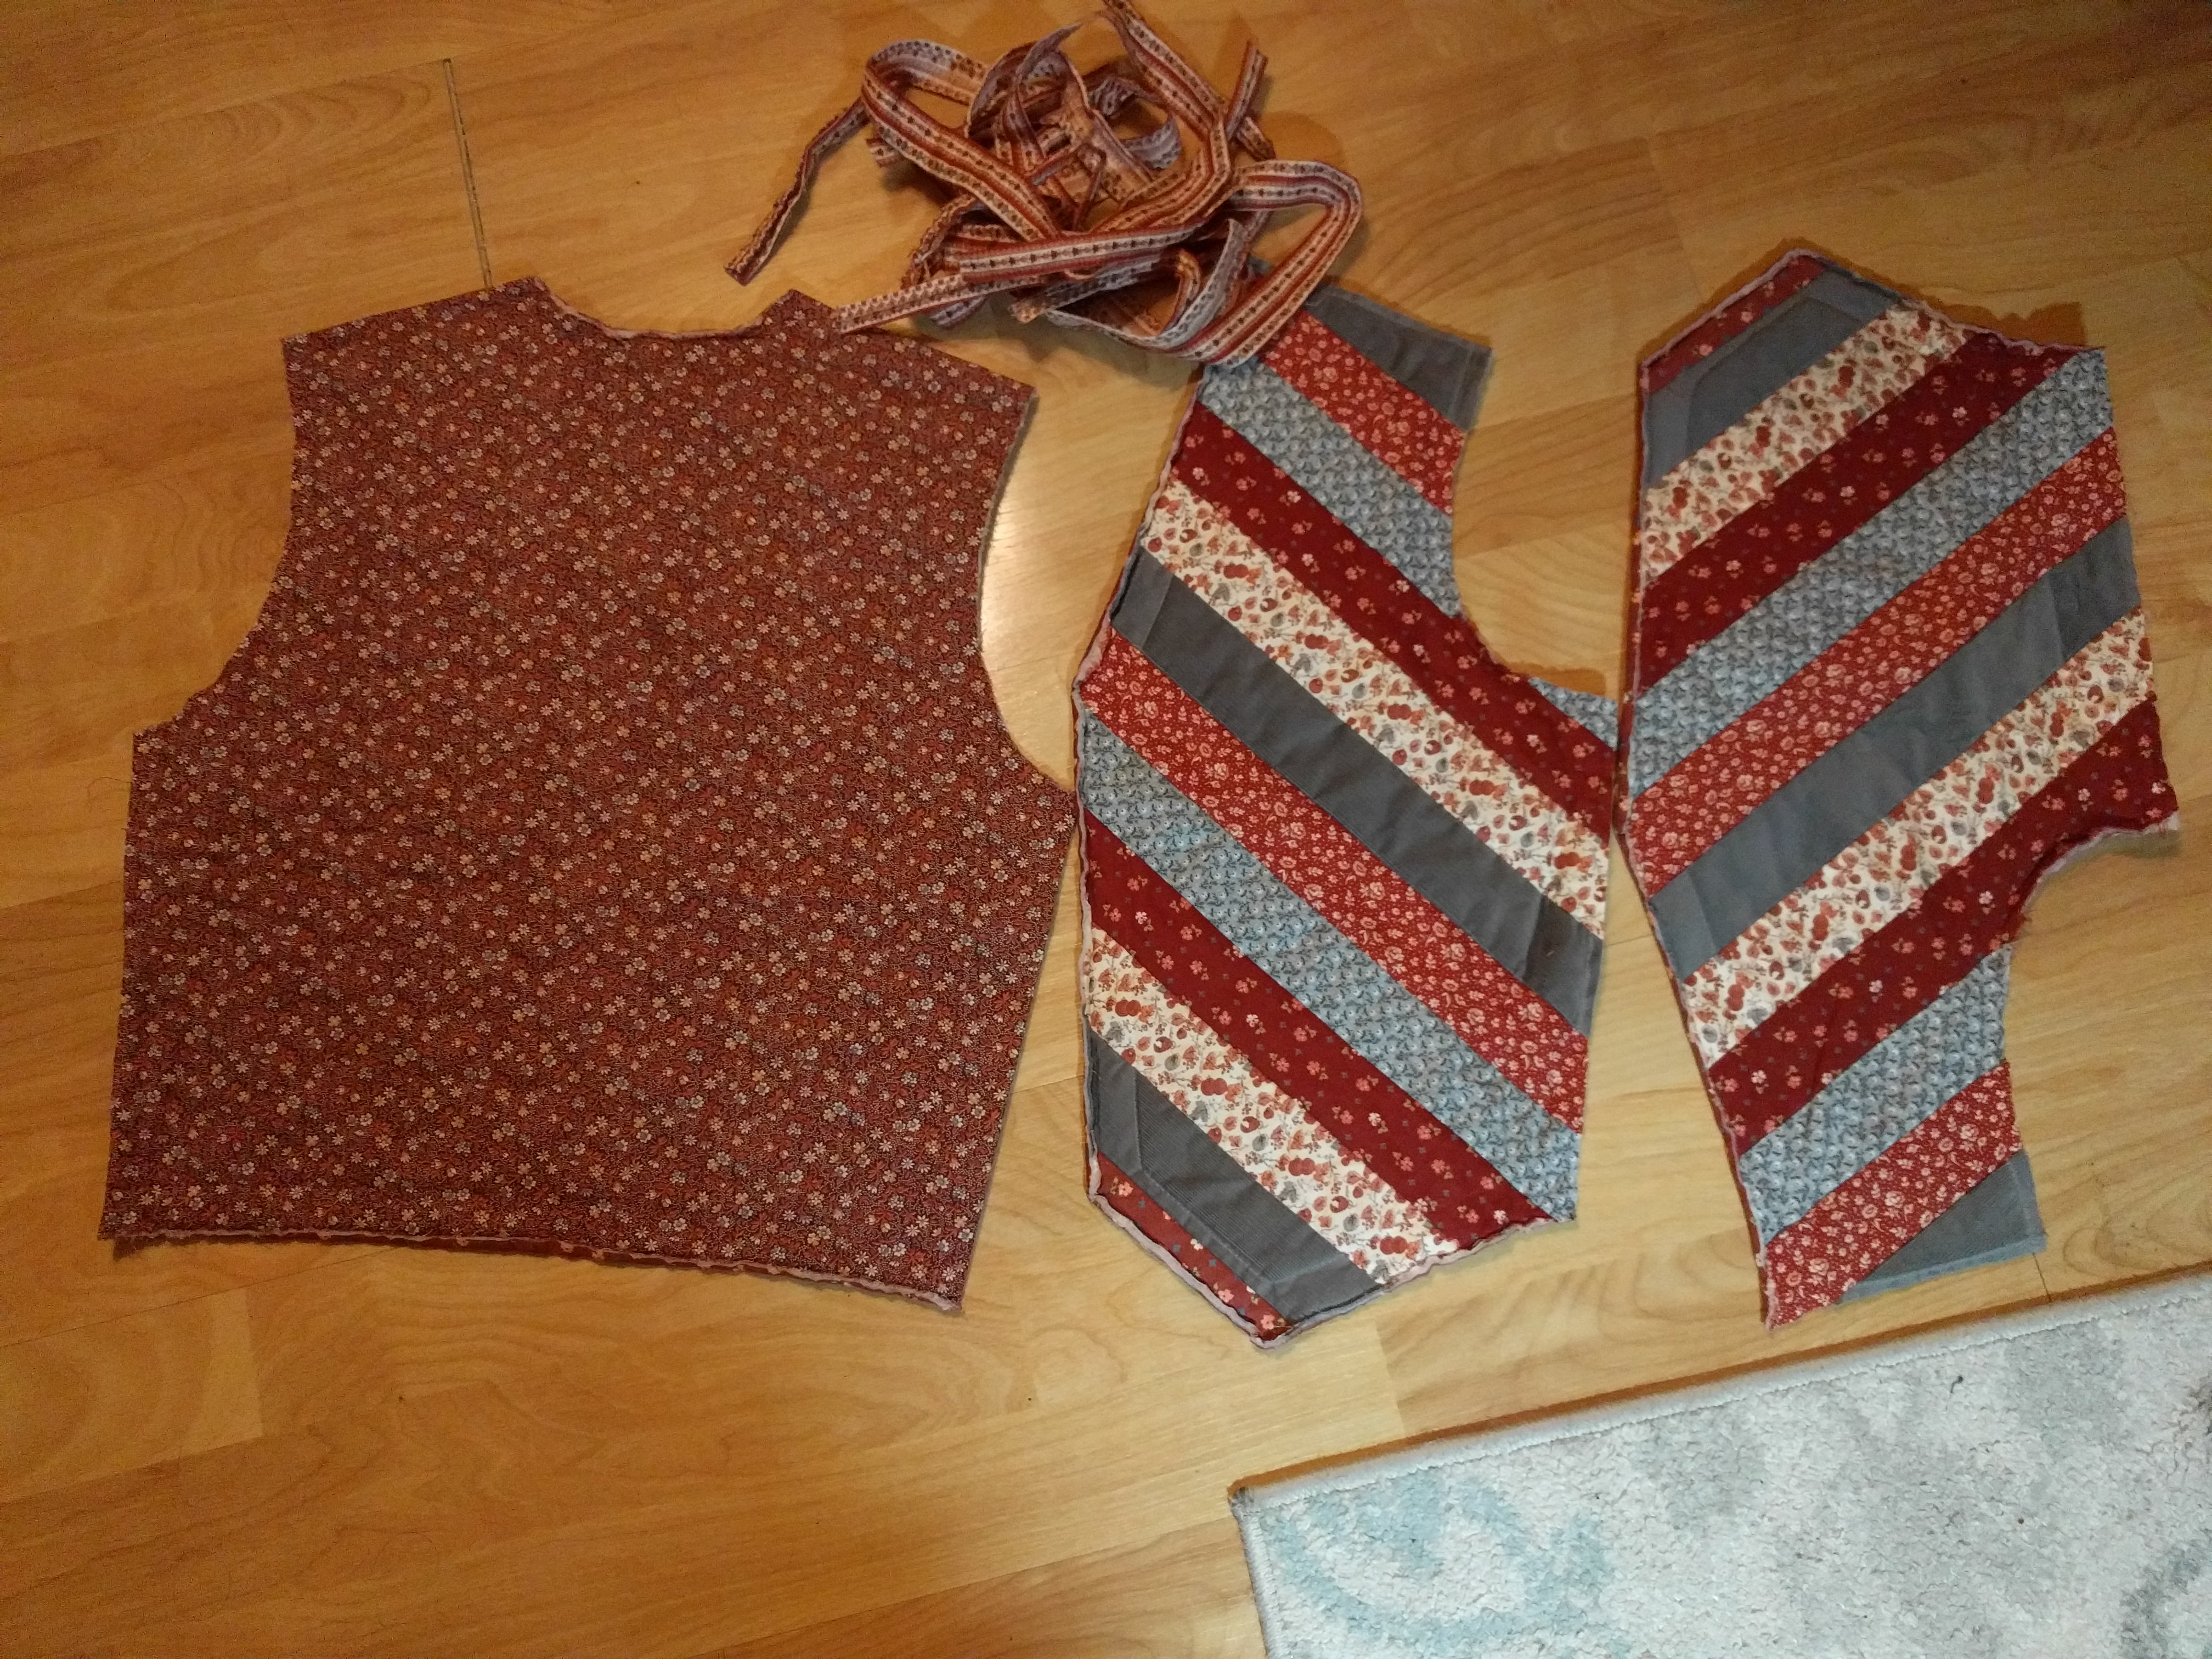
Once I had the vest separated into the two front panels and the back panel, I went directly to the coffee pot to mark the heights I wanted, took out a t-square to draw lines, went and checked them against the coffee pot again and then cut my pieces out.
With my pieces cut, I did a rough check to see if I'd be able to re-use the binding tape on these new shapes. I determined that it would probably work!
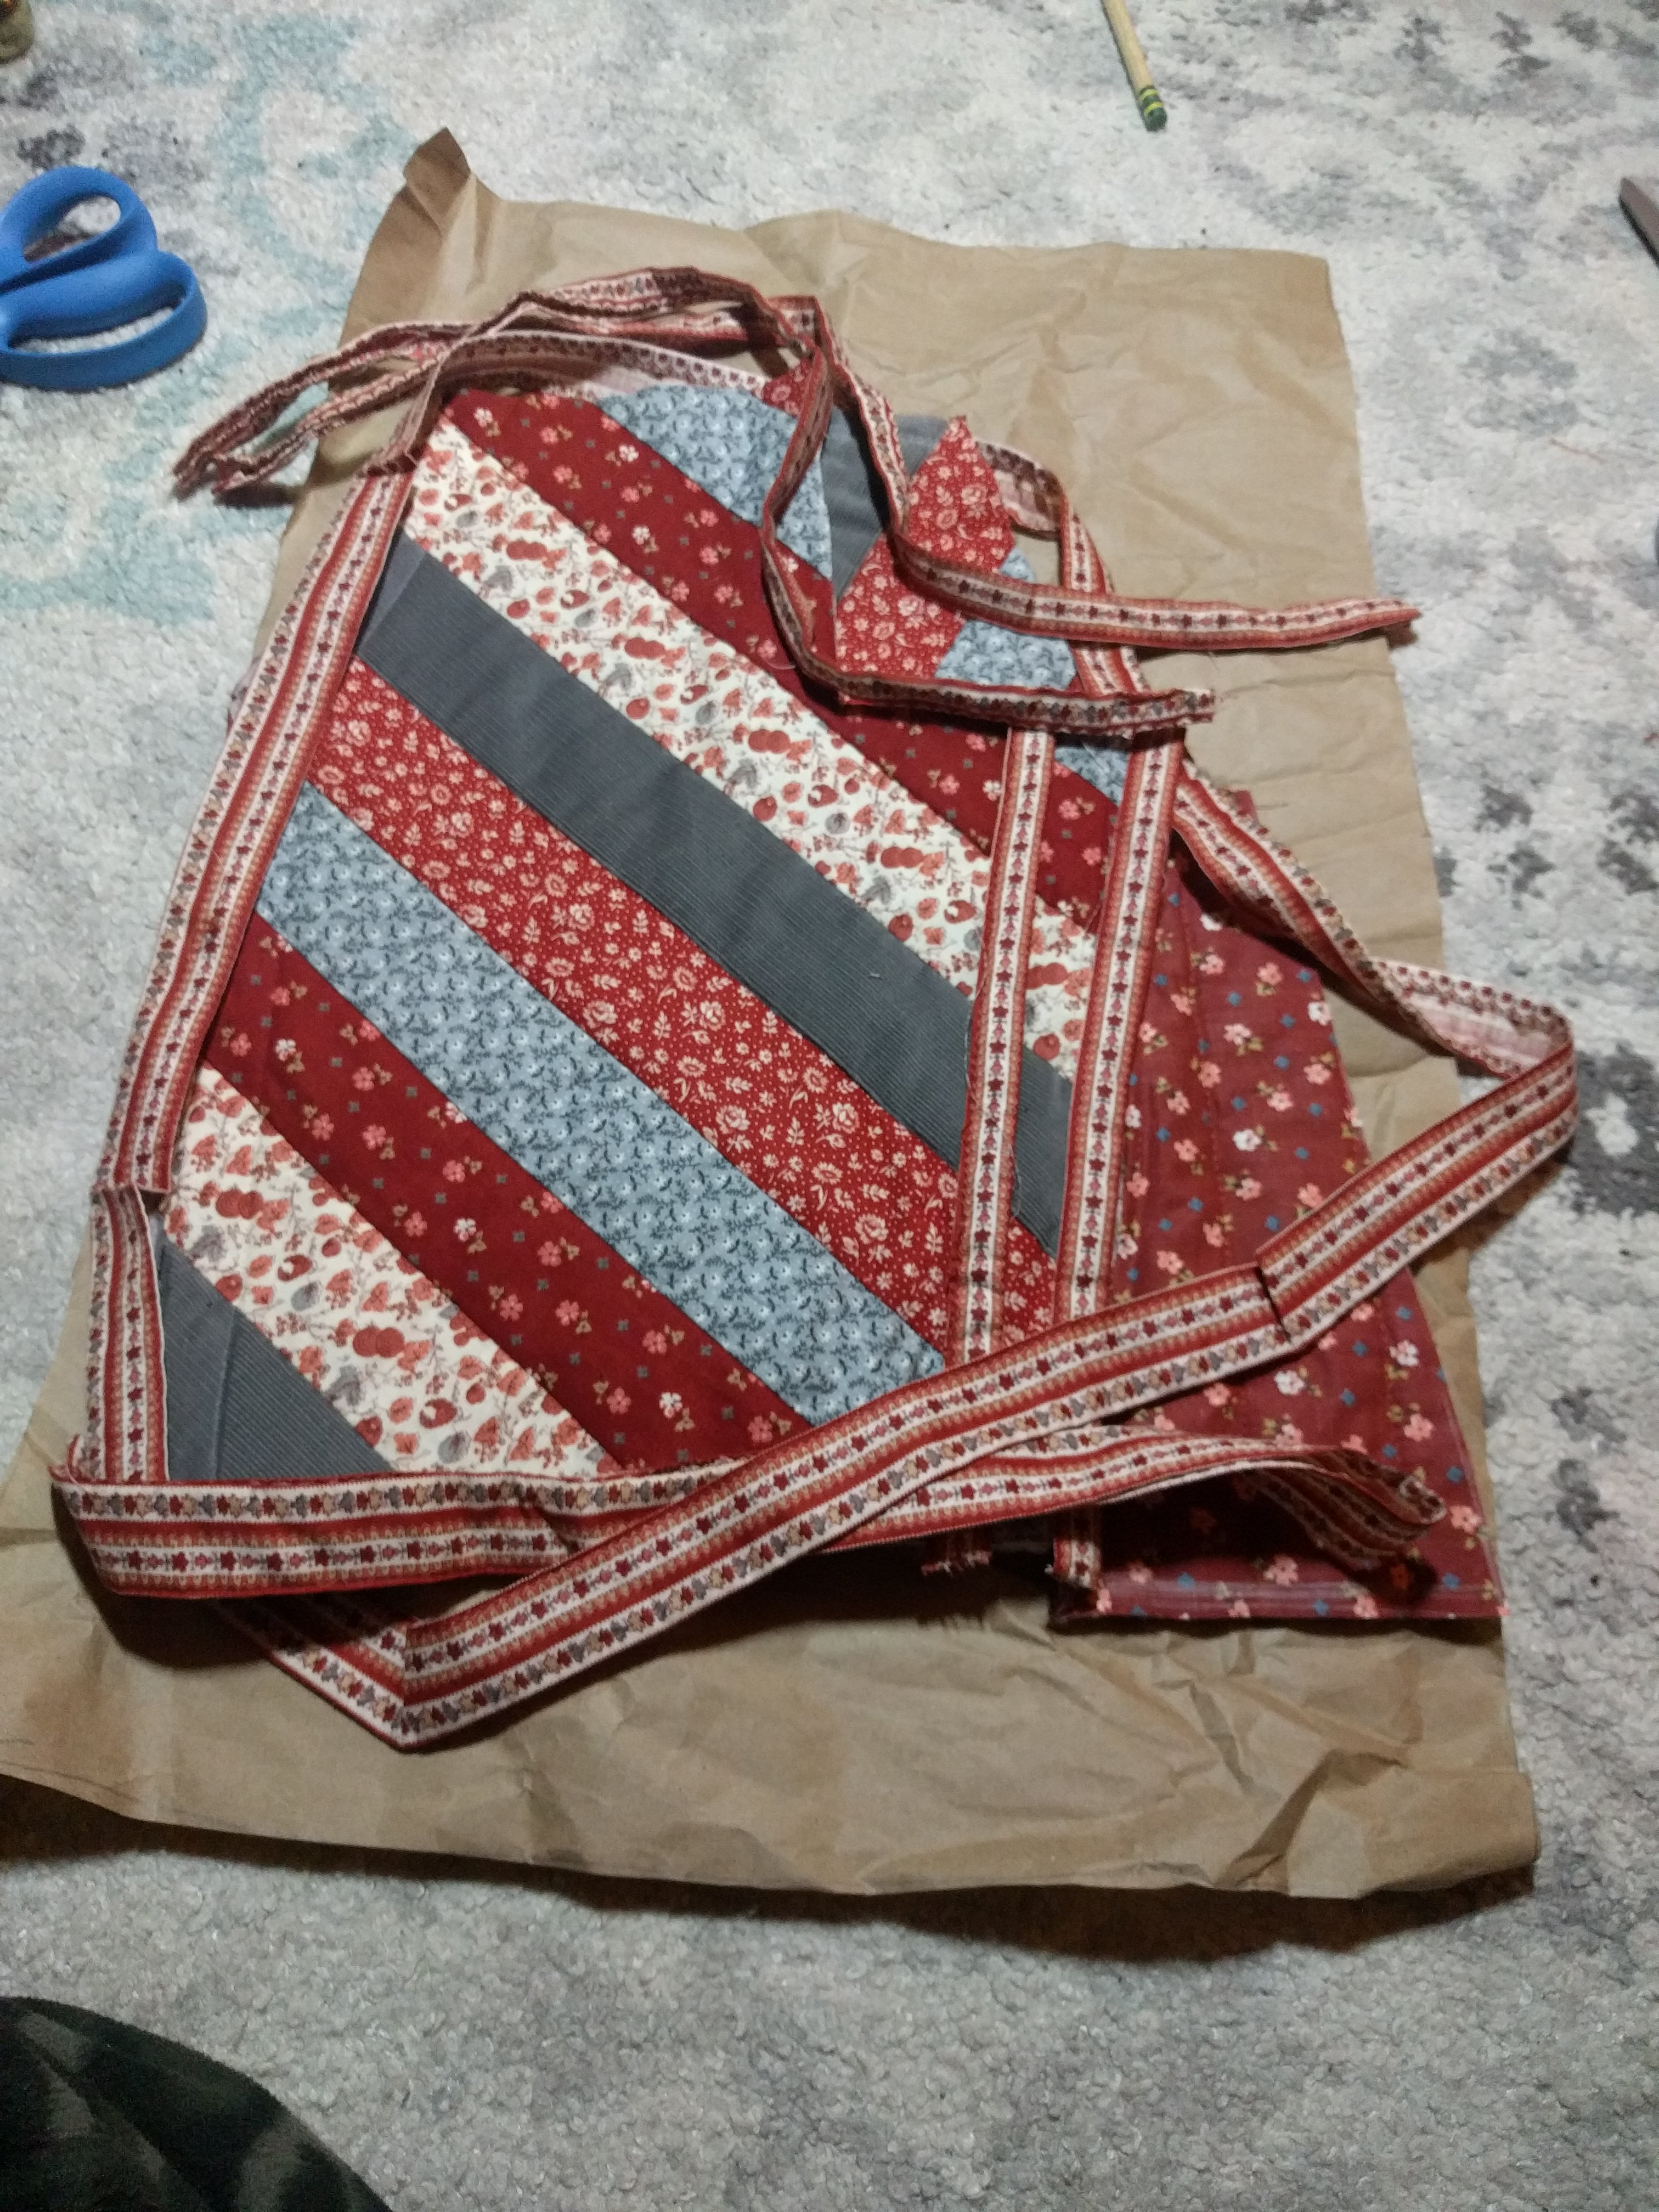
I then checked against the coffee pot again as I connected the pieces. I used the edge tape in more or less the same way that the original maker of the vest did, and pieced my way around the coffee pot. Eventually I had a full cover, and a surprisingly cute design!
I even had enough of the back panel left to make a kind of base, so the whole thing is enclosed when in use!
Here's how it came out!
photos:
